
Creating and editing a metric
Metrics are defined at country level, then tracked by the projects you choose. Open Metrics from the country settings menu (the gear in the header bar while you are inside a country).
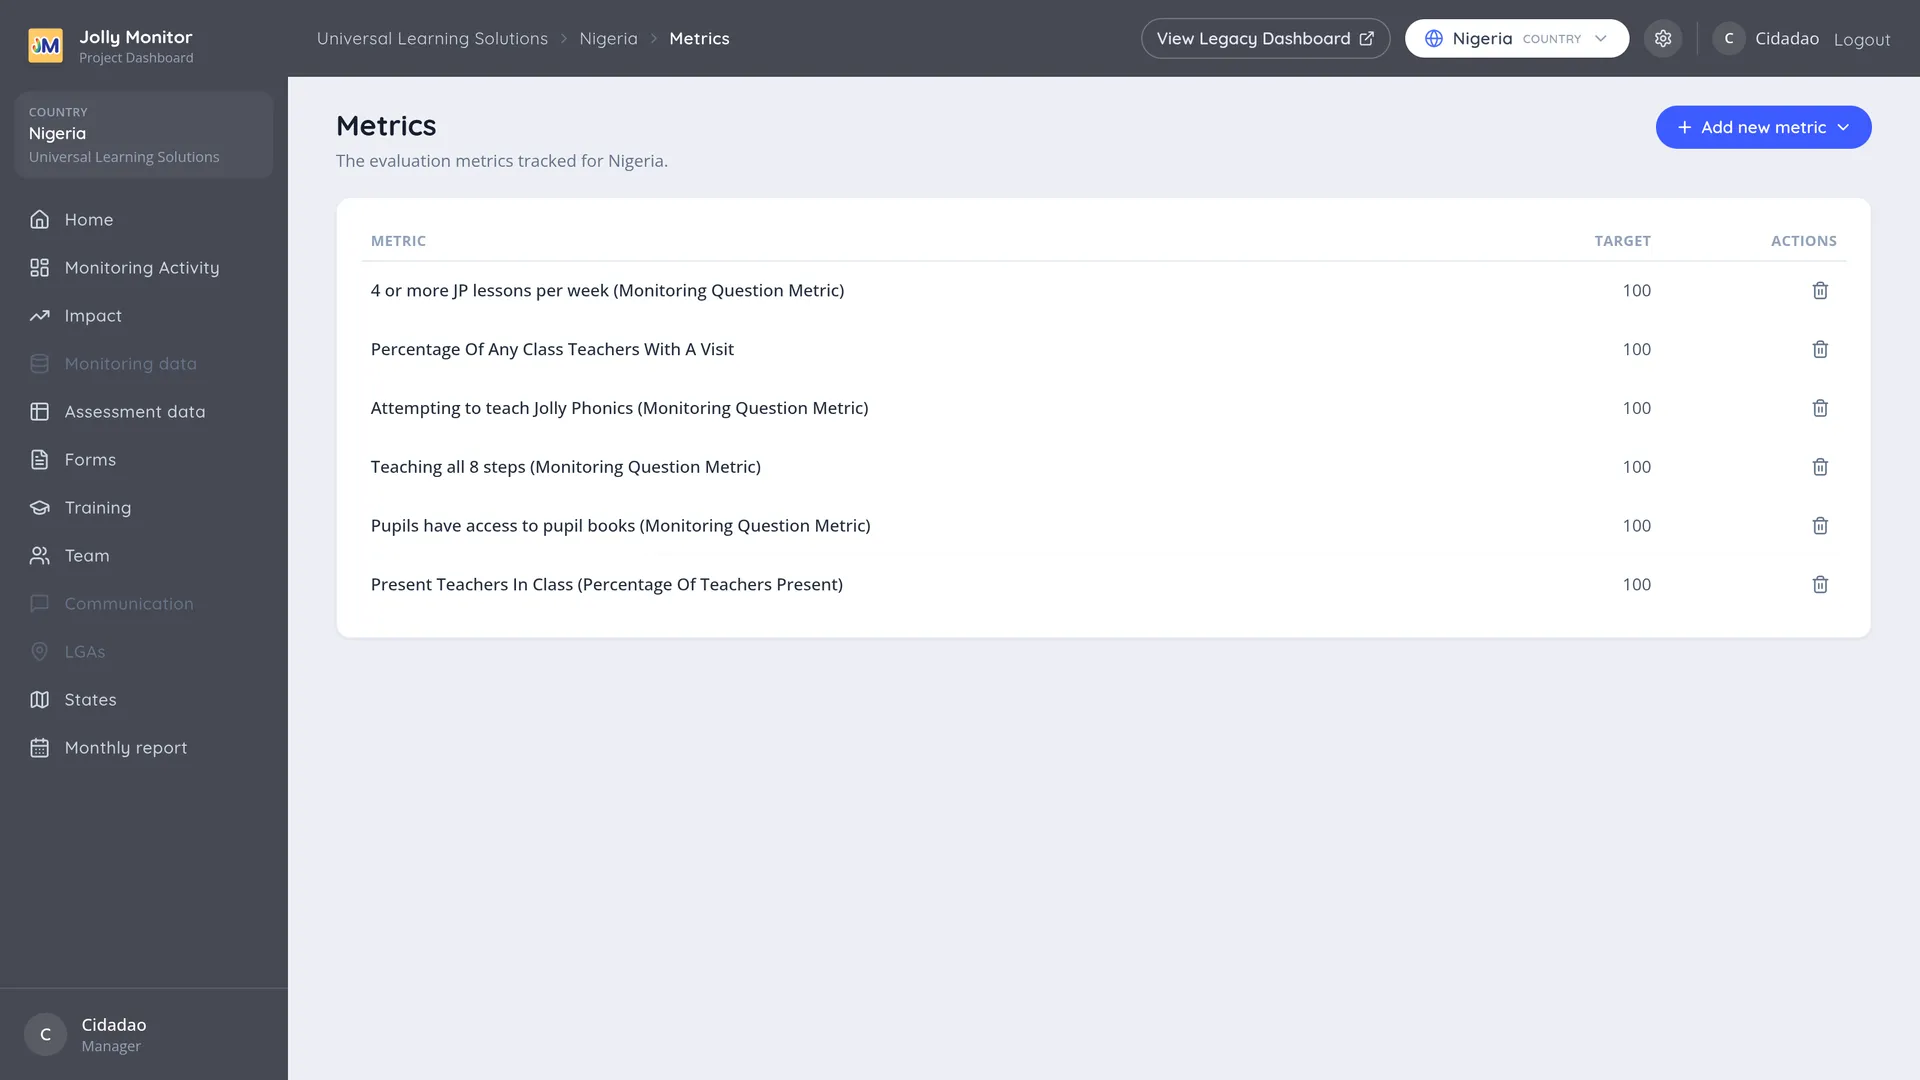
The Metrics page
Section titled “The Metrics page”The table lists the country’s metrics with:
| Column | What it shows |
|---|---|
| Metric | The metric’s name, with its kind in brackets, for example “(Monitoring Question Metric)“ |
| Target | The value being aimed for |
| Actions | A delete control |
The kind in brackets tells you how the number is worked out, which is useful when two metrics have similar names.
The three kinds of metric
Section titled “The three kinds of metric”Add new metric is a menu with the three ways in:
- Predefined metrics: ready-made ones, such as Percentage Of Any Class Teachers With A Visit. Choose one and it is added without a target (the Target column shows nothing until you set one from the metric’s gear on a project’s Metrics page); when they have all been added, the menu says “All predefined metrics added”.
- Pupils passing assessment: a small dialog asking for the term, the assessment section, the passing score and the target. It measures the share of pupils reaching that score.
- Advanced metric: the eight-step wizard below. This is the flexible one: it turns any single- or multi-select monitoring question into a measurement (free-text and number questions have no options to count, so they are not offered).
The eight-step wizard
Section titled “The eight-step wizard”A question-based metric is built through a wizard, and each step narrows what is being measured:
- School form: which form the question lives on.
- Sub-form: the school’s own questions, or one of its teacher forms.
- Question: the question itself.
- Counting options: which answers count towards the metric. This is the heart of it: you are declaring what a “pass” means. For a question about lessons per week, the passing answers might be “4” and “5 or more”.
- Target: the percentage you are aiming for, and the proximity division, which decides how wide the amber band below the target is: a result within one proximity division under the target shows amber, anything further shows red.
- Projects: which projects track this metric. There is a Select all for adding it to every project at once.
- Name: what the metric is called wherever it appears.
- Review: a summary before it is created.
On success the page confirms Metric created and returns to the metrics list.
Targets and the proximity division
Section titled “Targets and the proximity division”The target is the percentage you are aiming for. The proximity division decides how close counts as close: a result within that many points of the target shows amber, anything further below shows red. Left at zero, there is no amber at all: anything below target reads red.
Both are worth setting deliberately. A target of 100% with a narrow proximity means almost everything reads red, which trains people to ignore the colour altogether.
Editing and deleting
Section titled “Editing and deleting”Deleting is done from the metrics list at the top of this page. Editing lives where the metric is displayed: on a project’s Metrics page, administrators see a small gear on each metric that opens Configure Metric. It edits the name, the display (show the result as a percentage, or as a plain total per term), the target and the proximity, manages which projects show the metric, and, on question-based metrics, which answers count.
Because the definition is shared, those edits apply to the metric everywhere, not just in the project you opened it from.
Where the metric appears once it exists
Section titled “Where the metric appears once it exists”A new metric does not need any further setup to be visible. Once it exists and has projects attached, it appears:
- On each attached project’s Metrics page, with its result for the current period and the periods before it.
- On the district metrics pages beneath those projects, recalculated for each district.
- As a teacher indicator on the Impact pages (question-based metrics about teachers; the predefined visit-coverage metrics are not shown there), where the per-district breakdown is available.
- As an item you can add to a custom report.
- Aggregated at country level as the country Impact page’s teacher indicators.
The number is worked out fresh for whatever level and period you are viewing, from the answers collected in that scope.
Which projects track a metric
Section titled “Which projects track a metric”A country metric is only shown by the projects attached to it. That is managed in two places, whichever suits:
- From the metric itself, when creating it or editing it.
- From a project’s own Metrics setup page, where a project chooses among its country’s metrics.
Because the definition lives at country level, editing a metric changes it for every project tracking it. What a project controls is whether it tracks it, not what it means.
Next: Deduplication overview