Adding and editing schools
Before you add a school, scroll through the SCHOOLS list to make sure it isn’t already there under a slightly different spelling. Once a duplicate exists, only the project lead can merge or delete it.
Adding a school
Section titled “Adding a school”1. Open the district’s SCHOOLS tab
Section titled “1. Open the district’s SCHOOLS tab”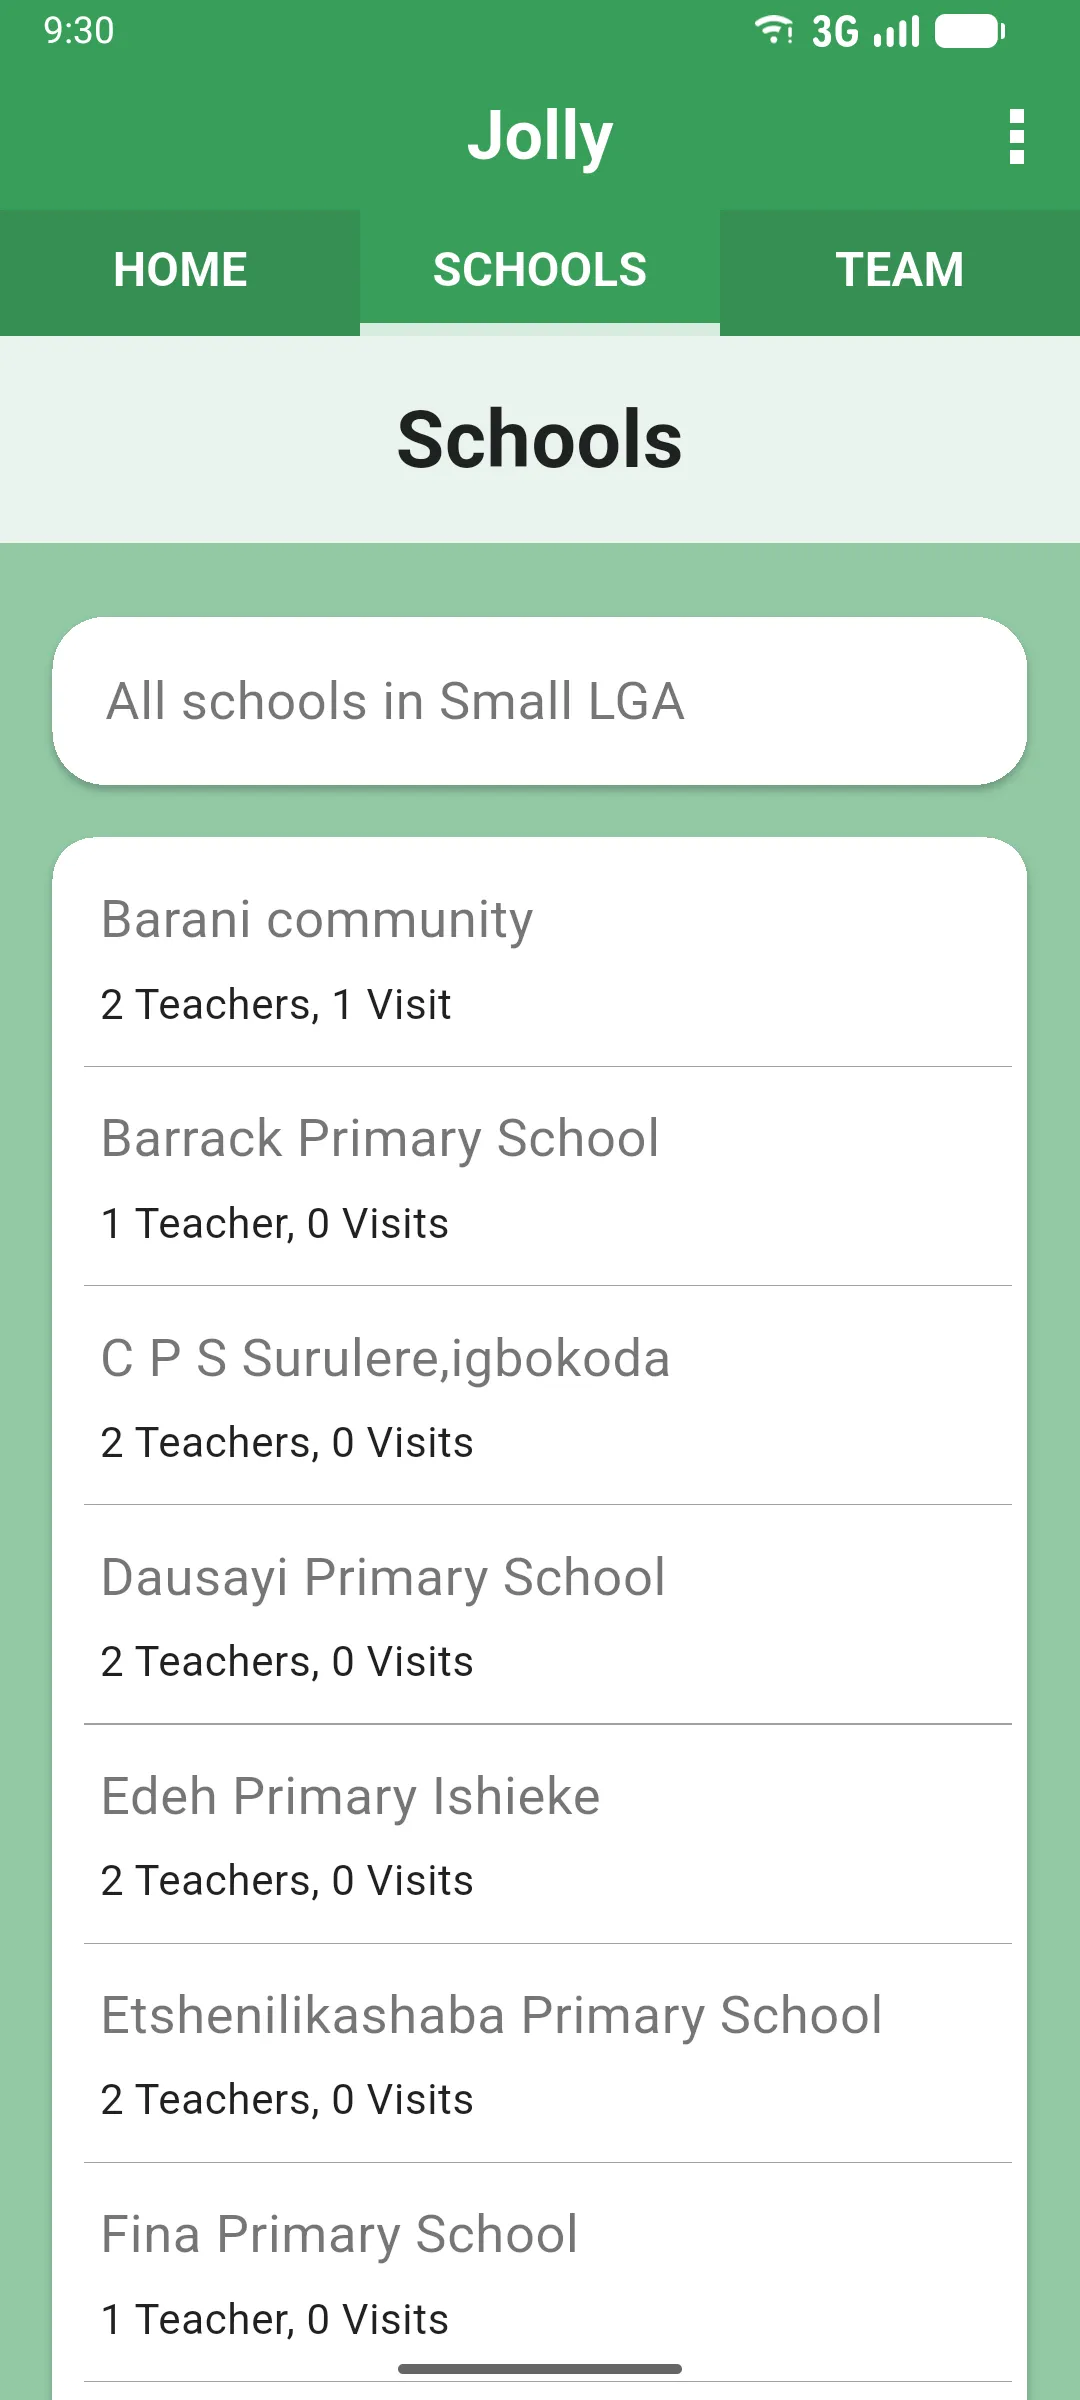
2. Scroll to the bottom and tap Add a School
Section titled “2. Scroll to the bottom and tap Add a School”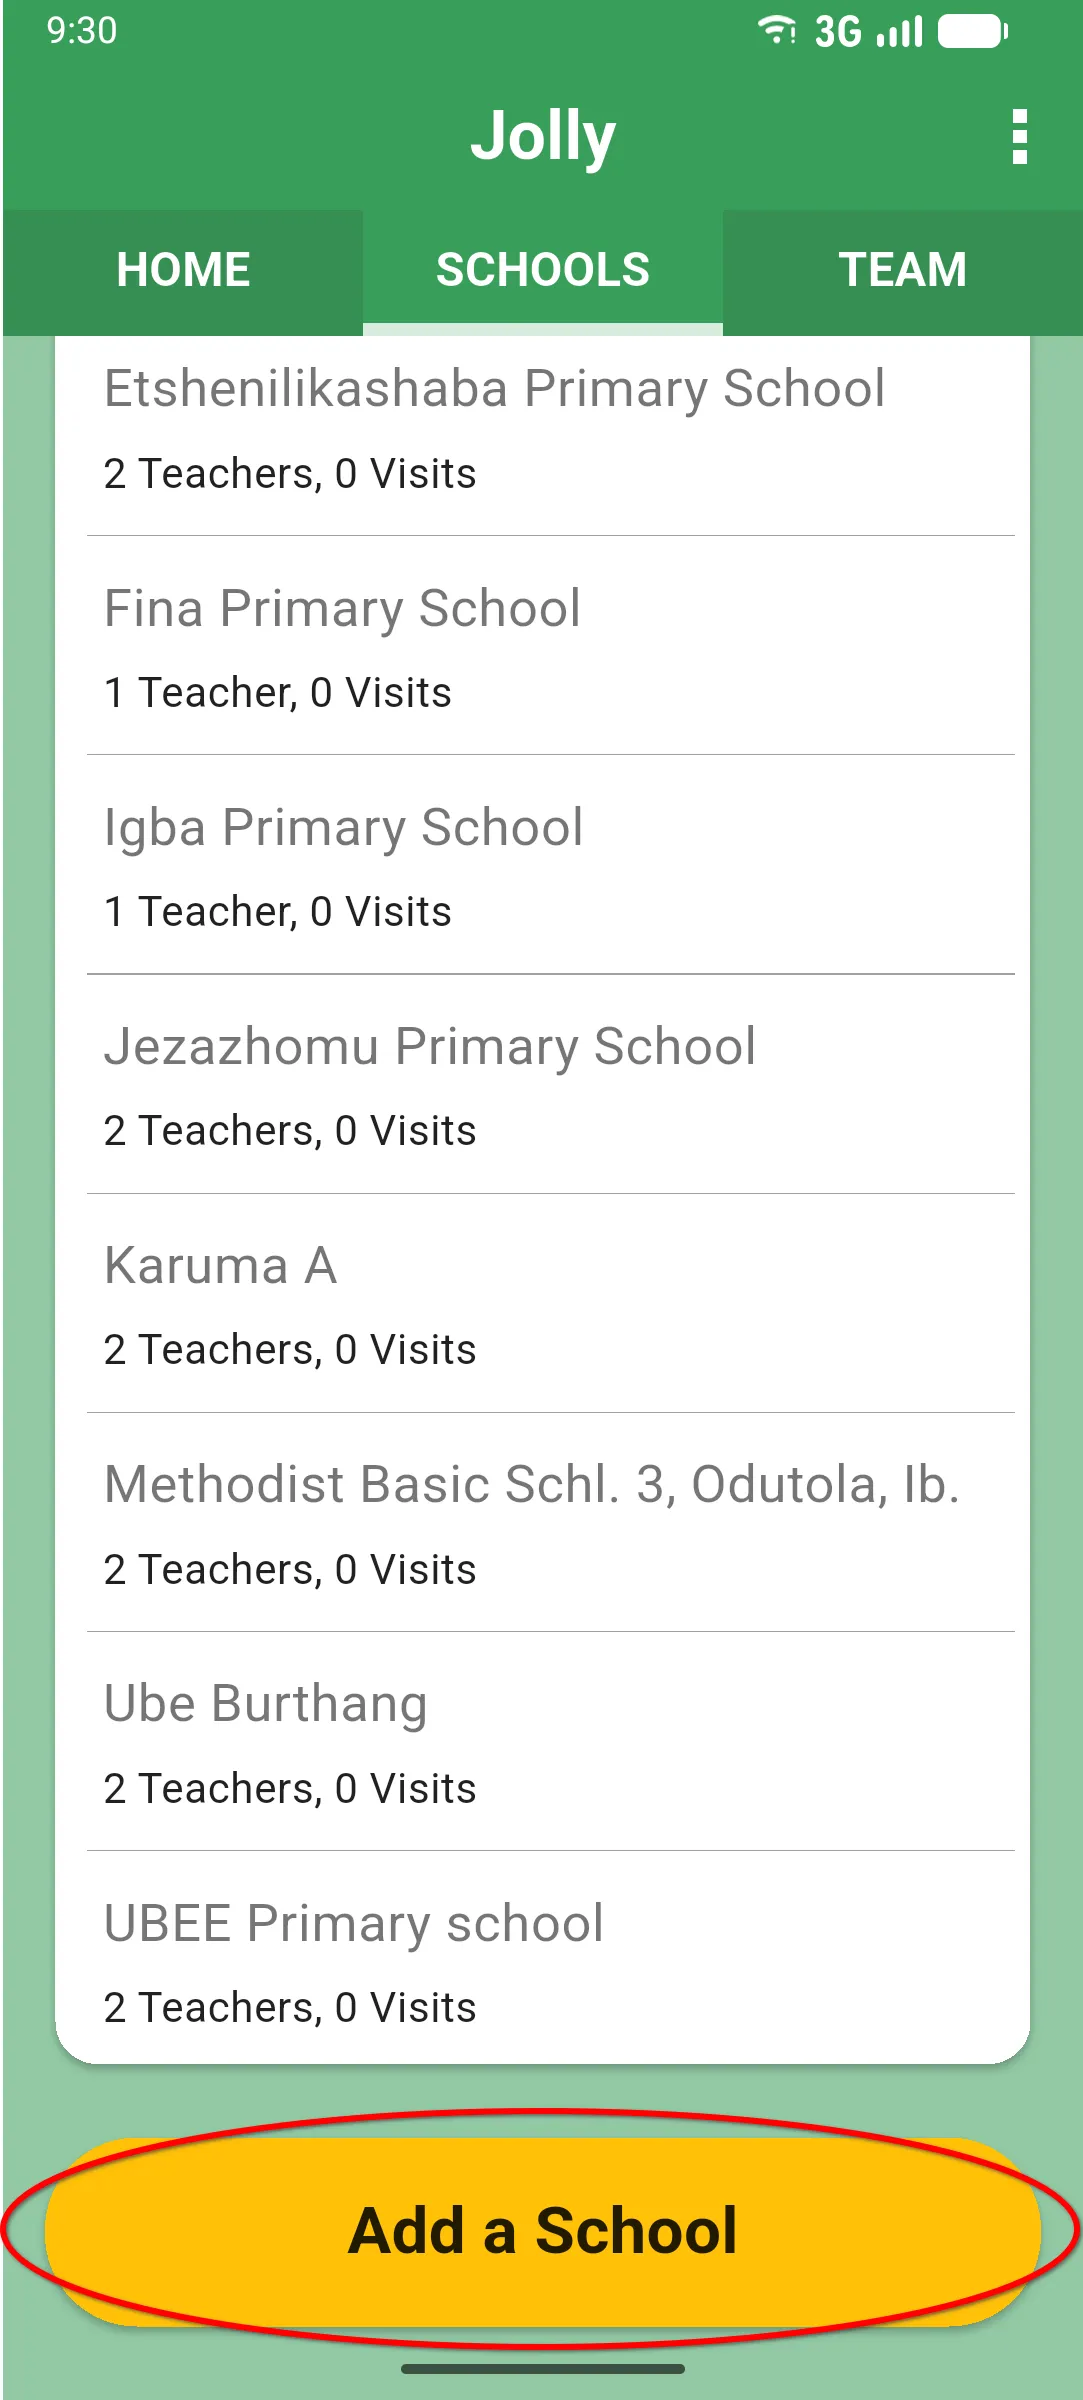
3. Sync
Section titled “3. Sync”Enter the school name. The school appears in the SCHOOLS list and the Sync Needed banner pops up at the top: tap it (or run a sync from the home screen) to send the new school to the server and share it with the rest of the team. The rest of the school’s details can be added later by editing it.
Editing a school’s name
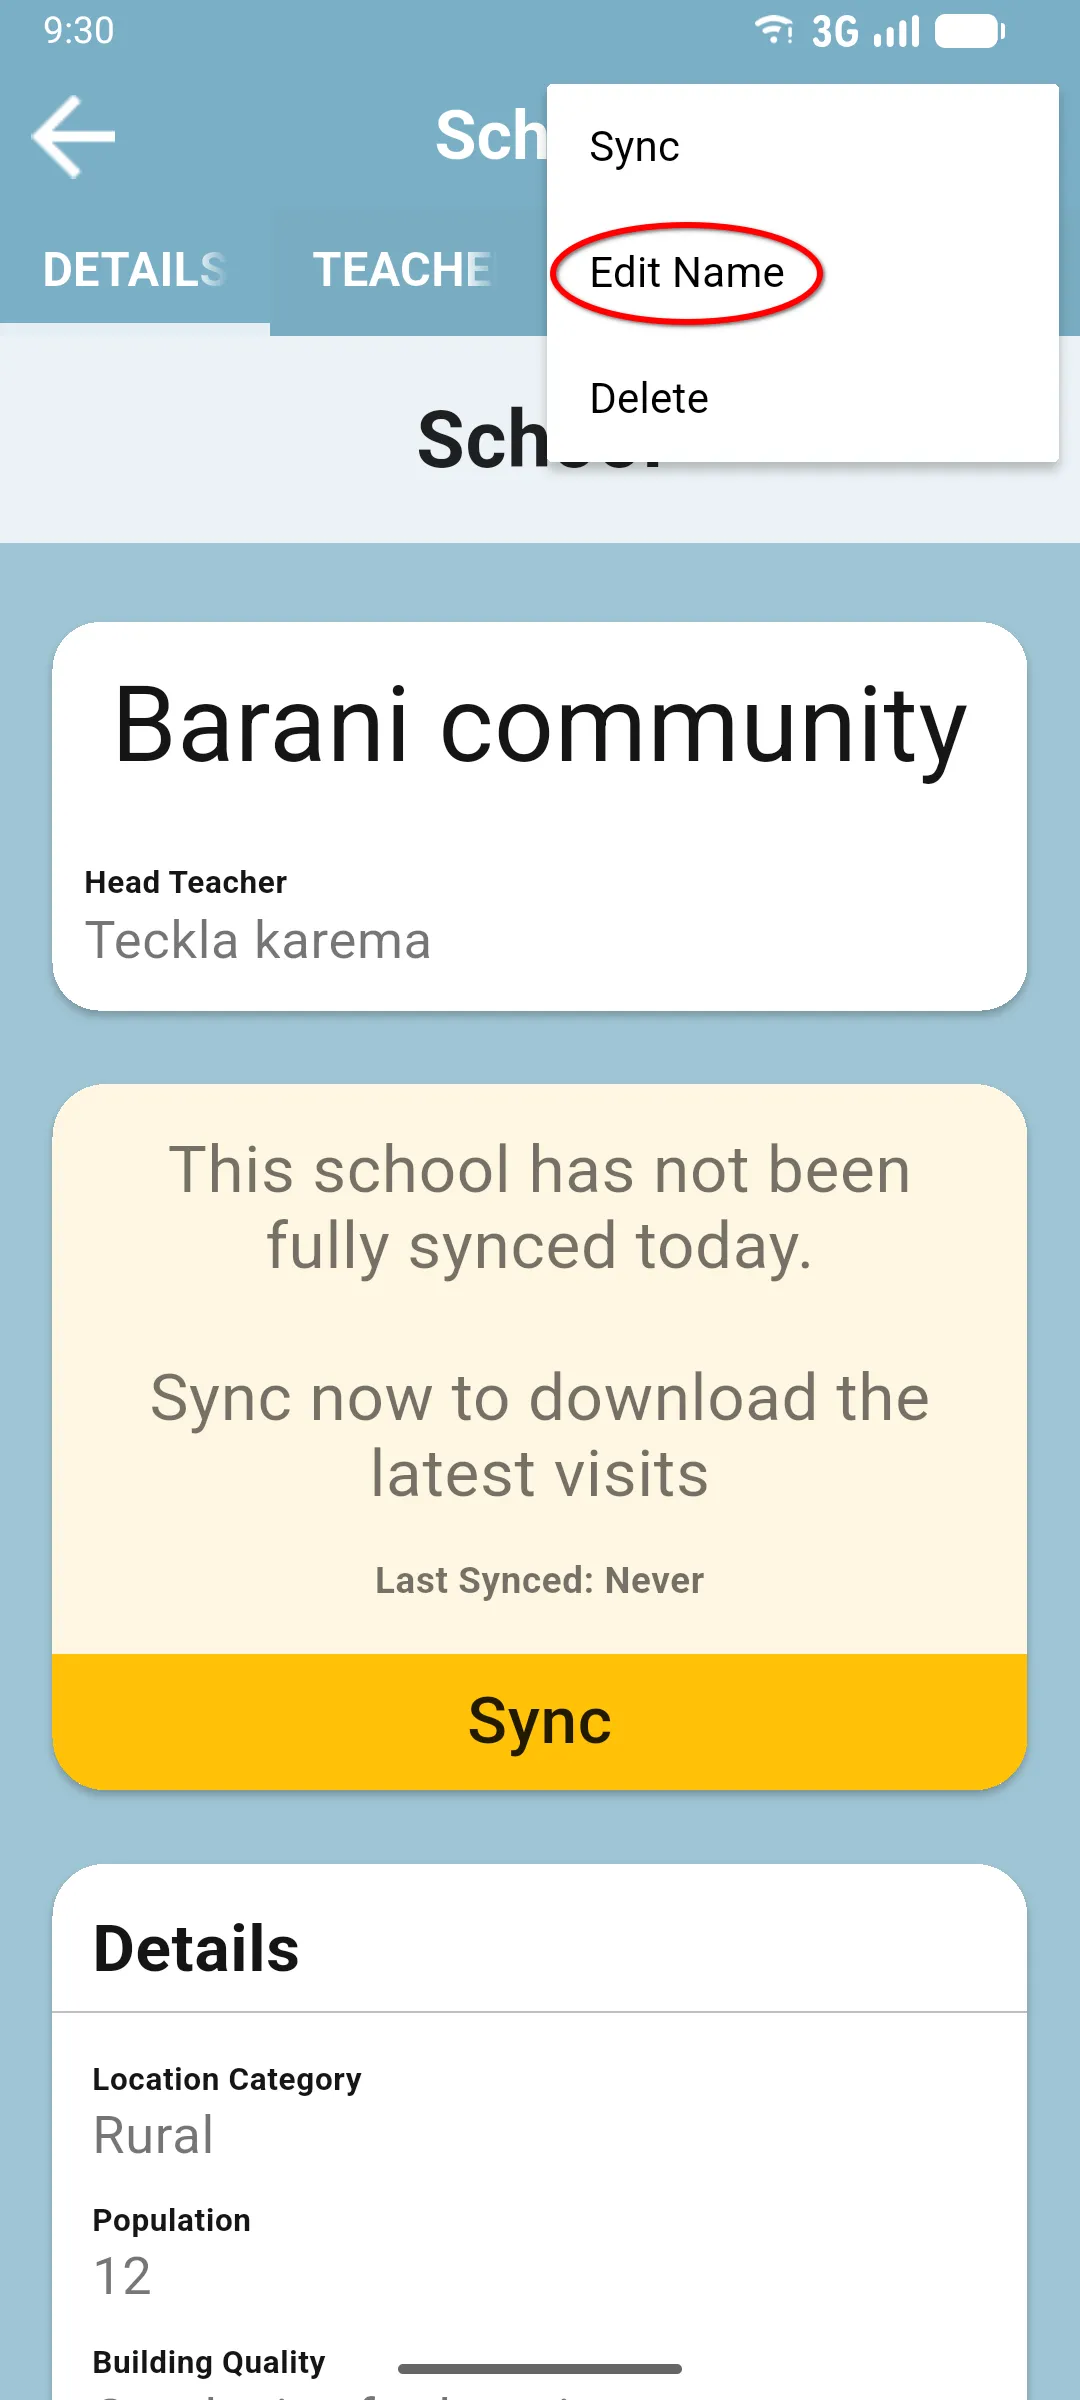
Section titled “Editing a school’s name”From the app, the only field a monitor can change on a school is its name. Other details are managed from the back-office.
Open the school, then tap the three-dot menu in the top right and pick Edit Name.
Type the new name and confirm. The school is marked Sync Needed; sync to push the change.
Next: The CLASSES tab