Starting a pupil assessment
Pupil assessments live inside a teacher’s monitoring sections during a school visit. Inside the visit, on the TEACHERS tab, tap Start Monitoring for the teacher and go through class + monitoring type, then tap Start on the teacher’s Pupil Assessments row. From there you can add as many assessments as you need.
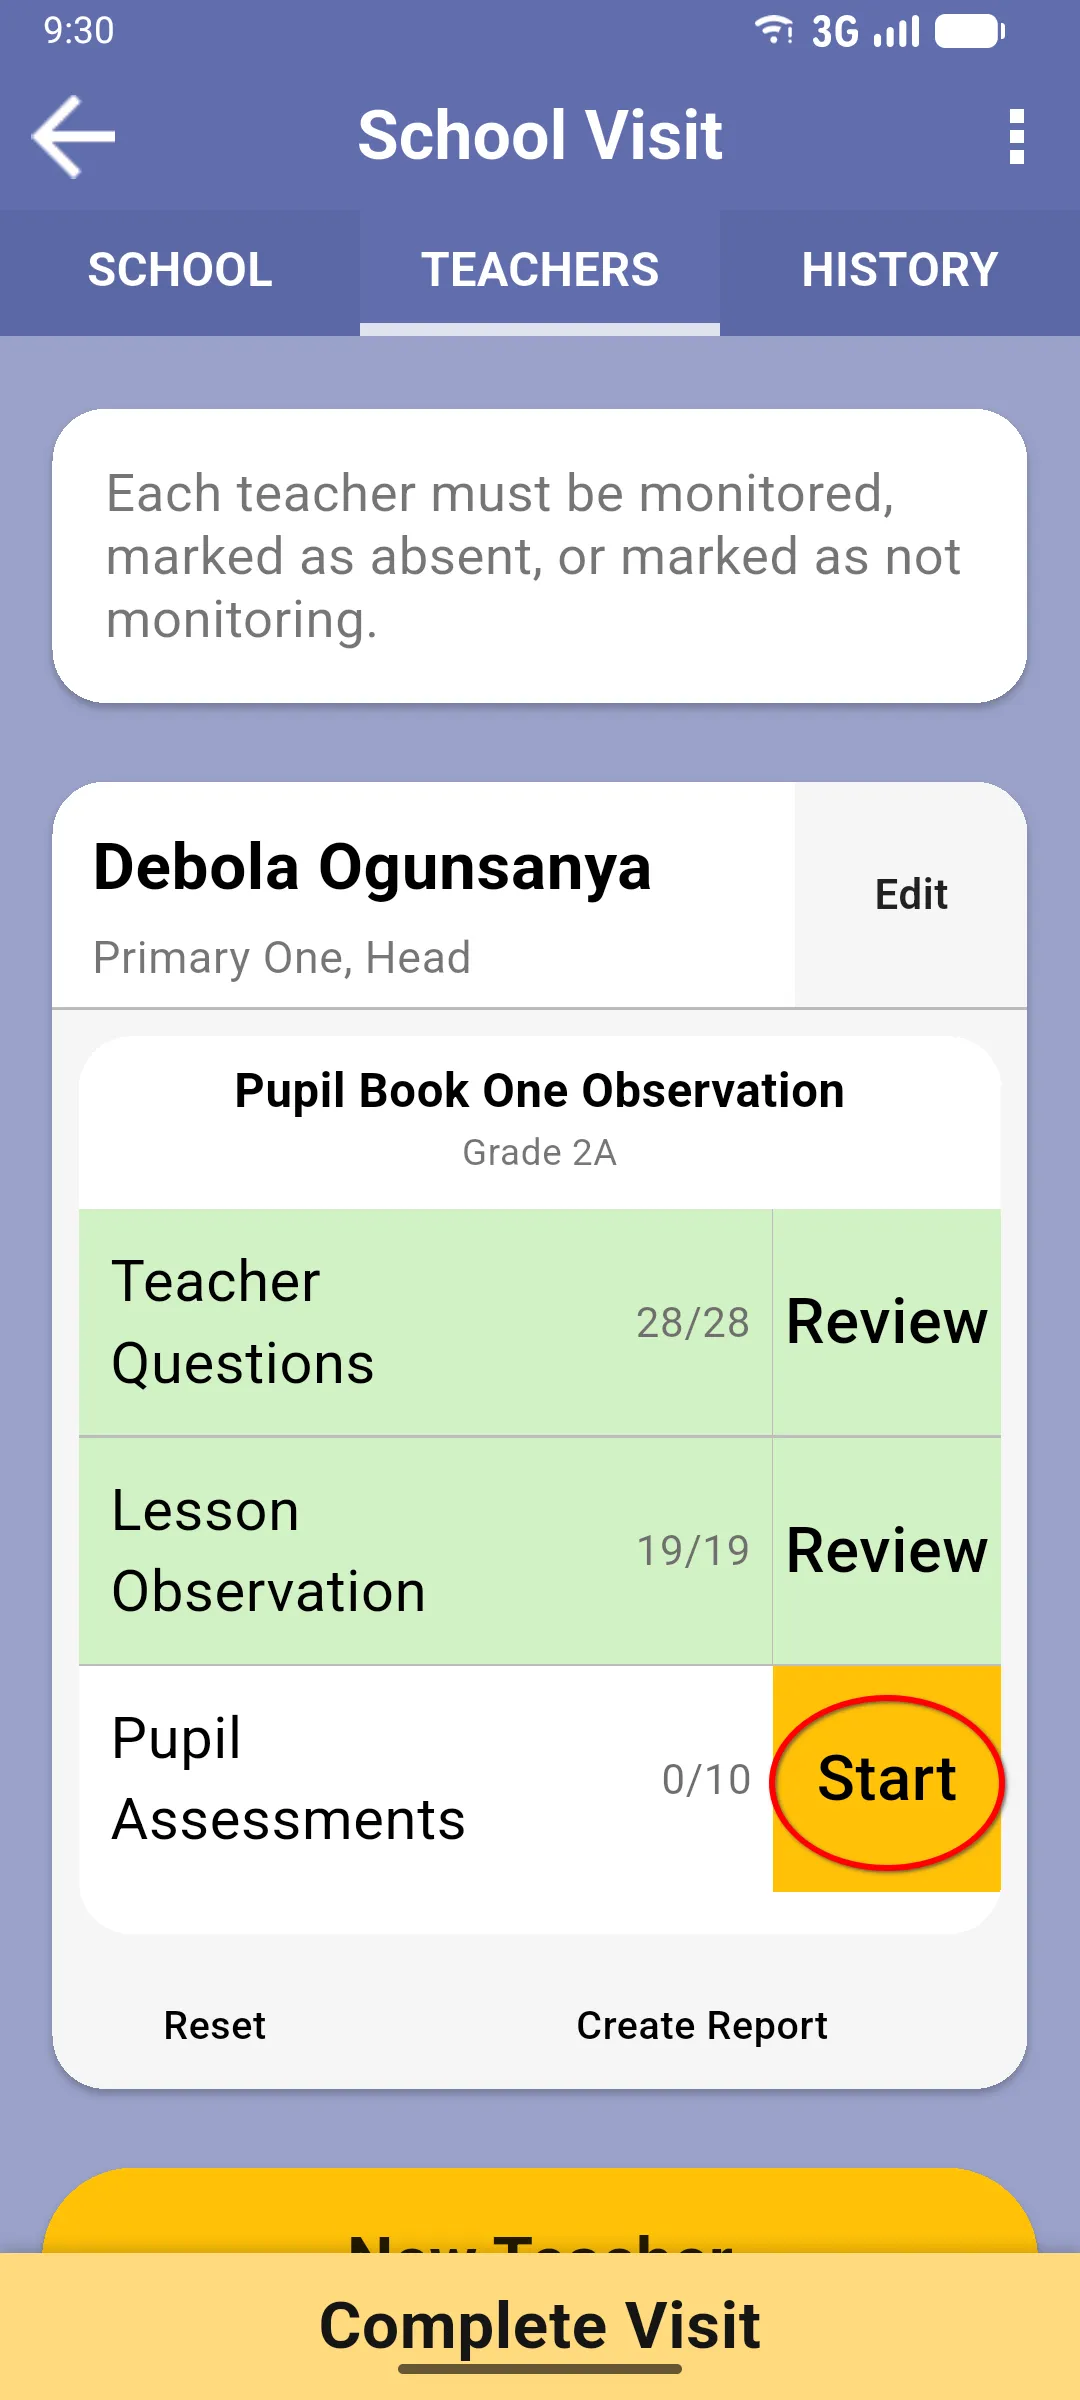
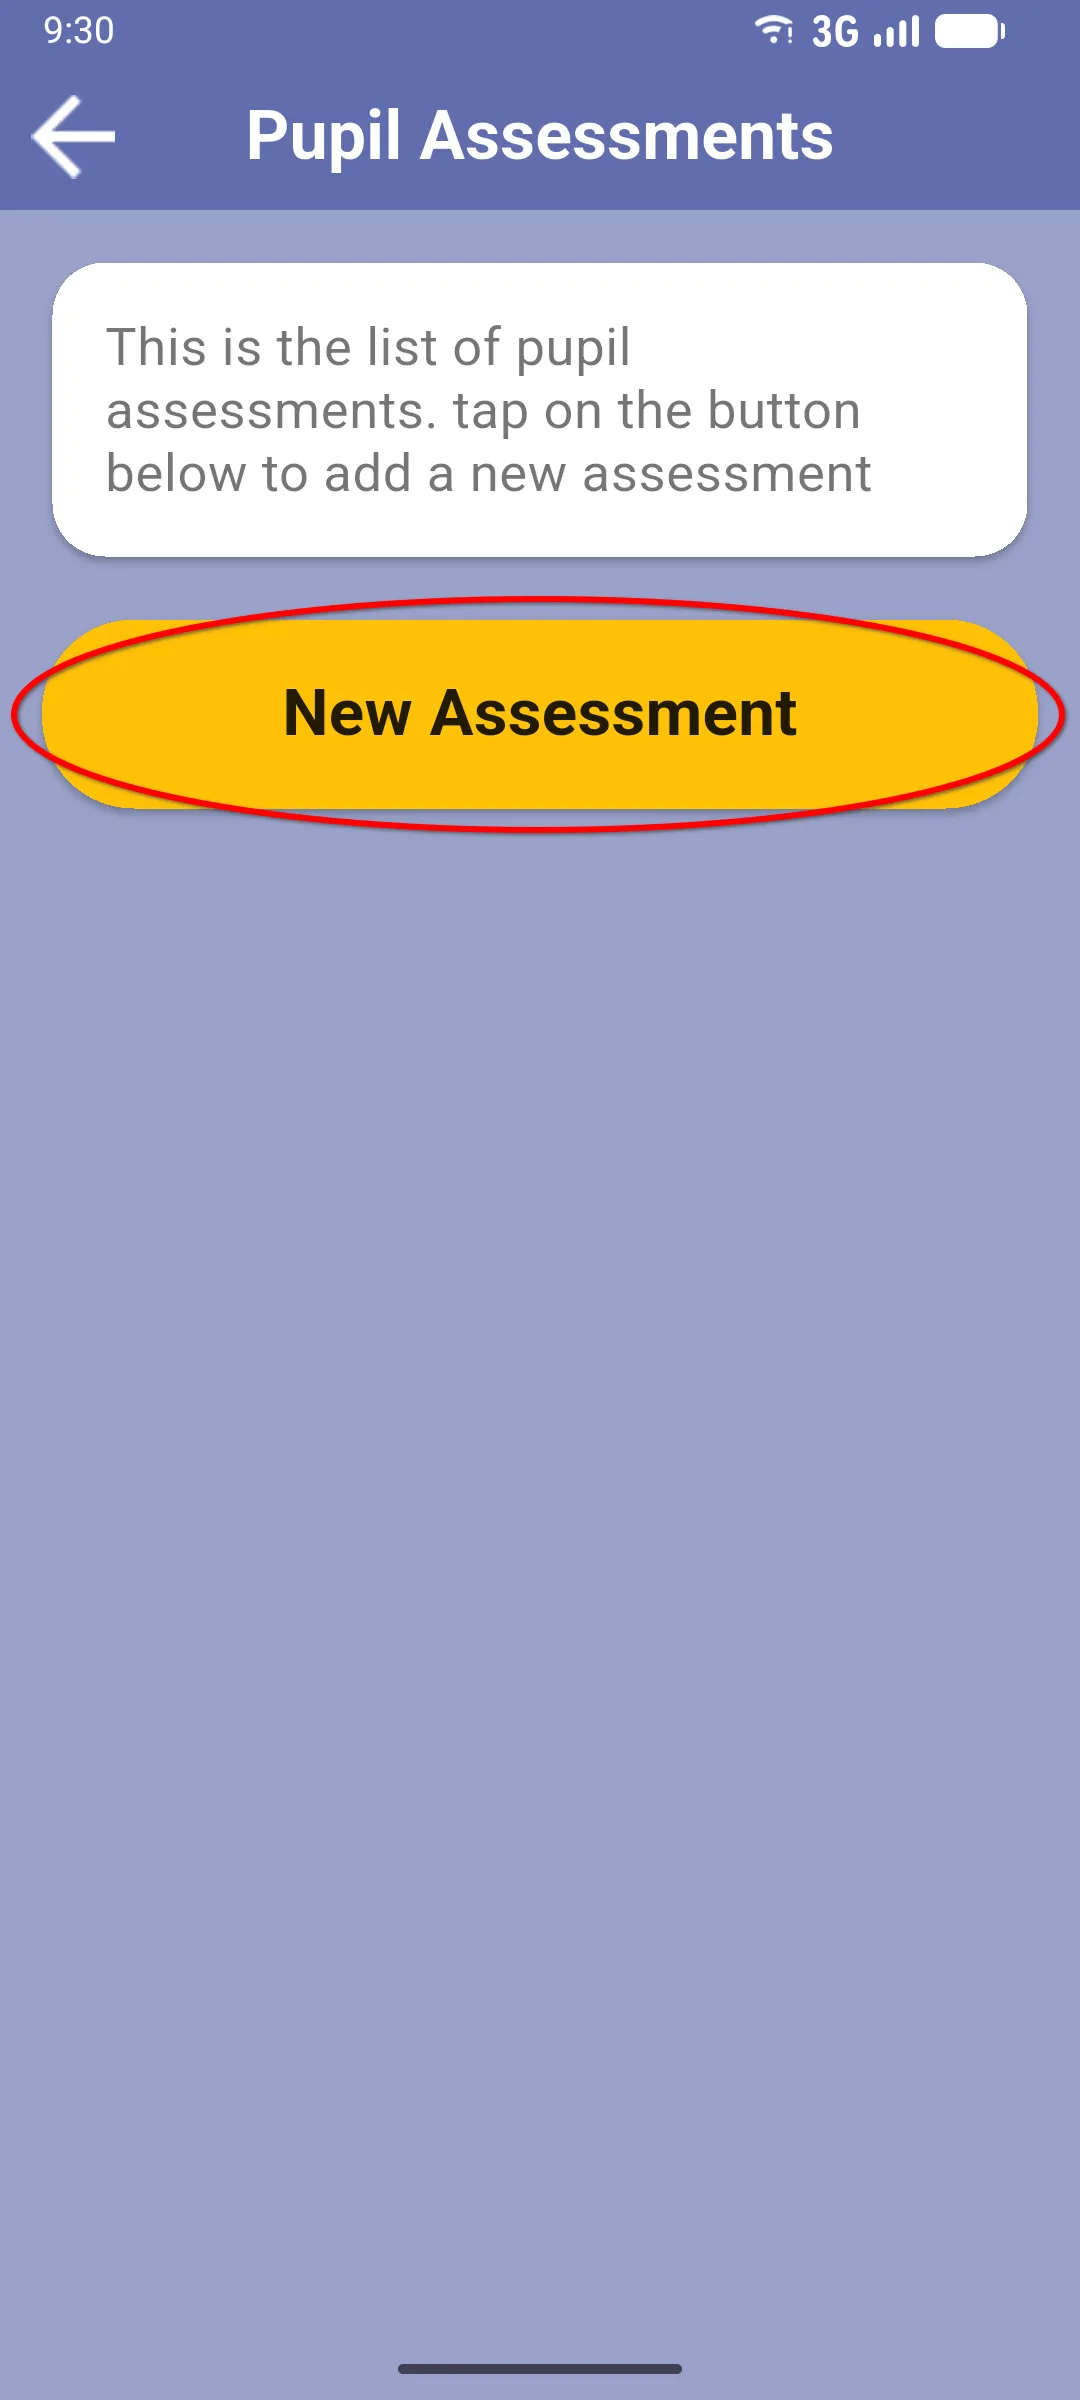
1. Open the Pupil Assessments screen
Section titled “1. Open the Pupil Assessments screen”The first time you open it, the list is empty and shows a message inviting you to add an assessment. Tap the yellow New Assessment button.
2. Choose the assessment type
Section titled “2. Choose the assessment type”The app shows the pupil forms available for this teacher’s monitoring form. Tap the one you want to use.
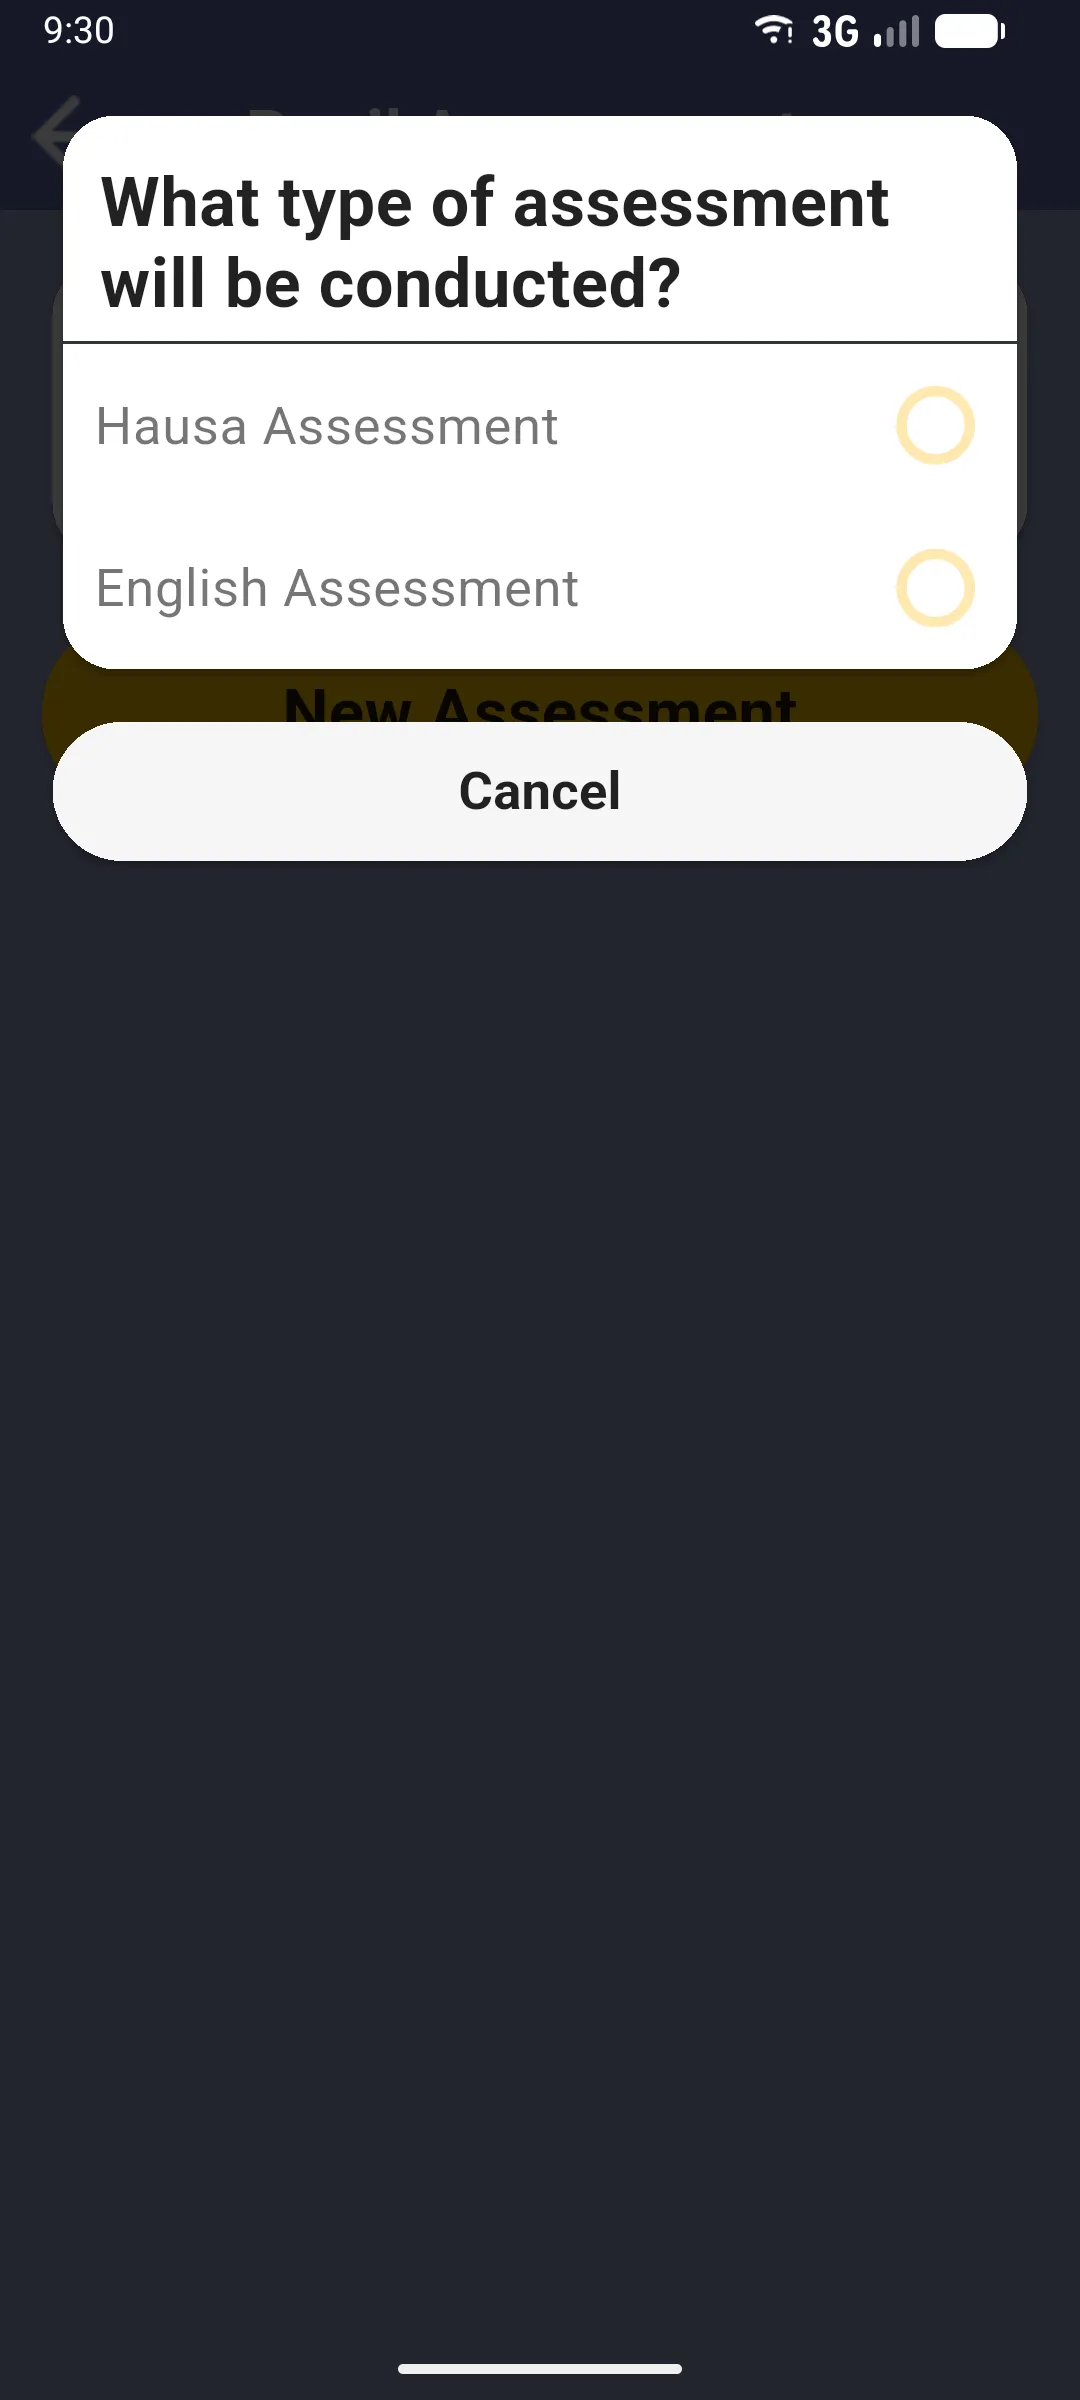
If the form has only one pupil form, this dialog doesn’t appear: the type is selected automatically.
3. Select a pupil
Section titled “3. Select a pupil”Choose the pupil you’ll assess. The list is grouped by class and shows the pupils available. Linking a pupil is optional: if you’d rather not pick one, tap Continue Without Selecting Pupil and the assessment is created with no pupil attached (you can type a name instead).
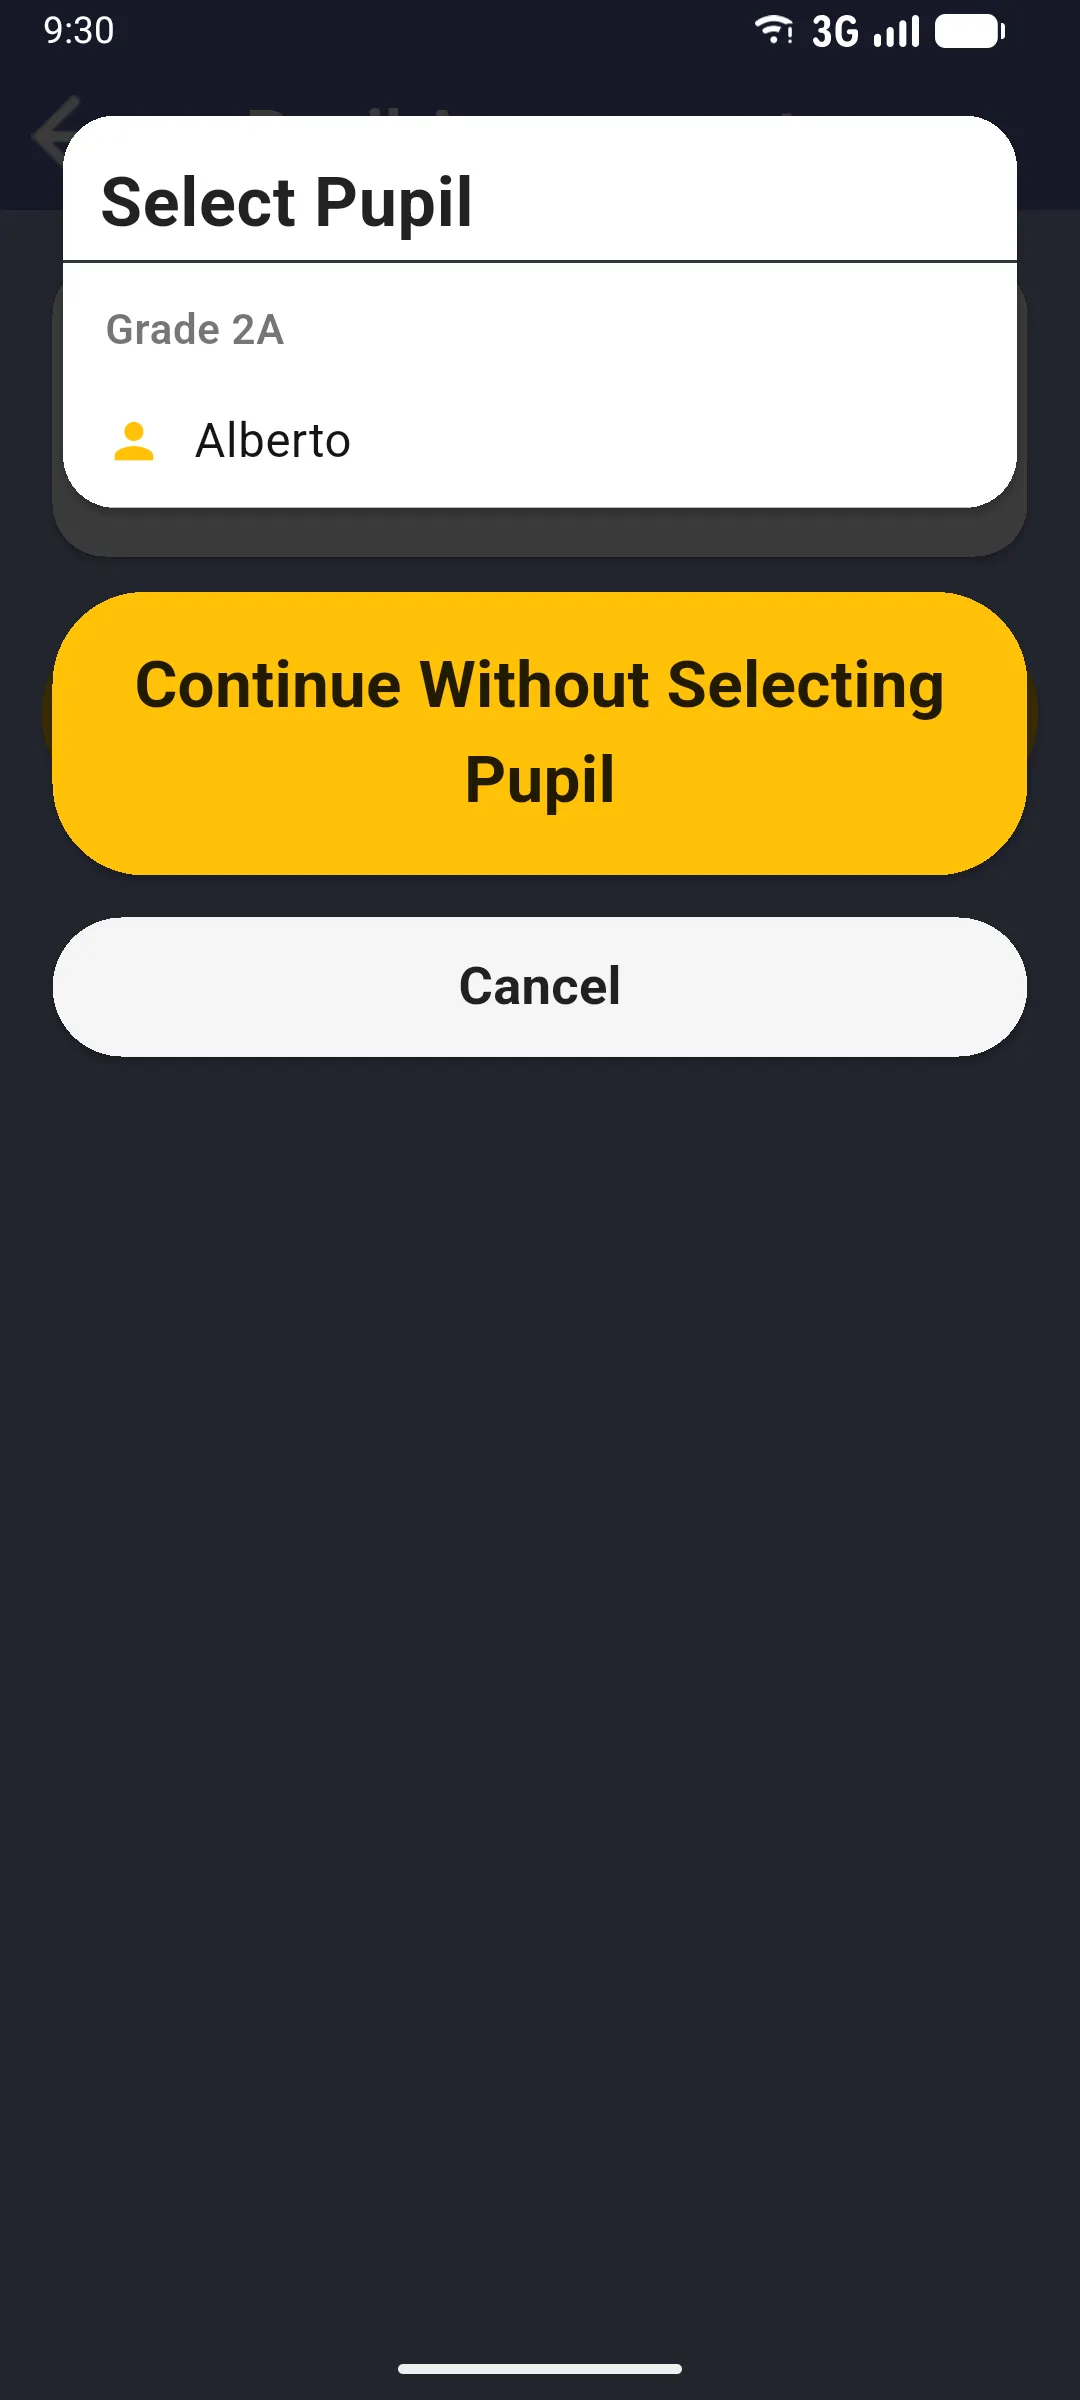
If no class was assigned to this teacher visit during setup, this modal is skipped entirely and the app jumps straight to a Pupil Name text dialog.
4. The assessment is added
Section titled “4. The assessment is added”The new assessment appears on the Pupil Assessments screen as a card. The header shows the date and time it was created and the pupil it is linked to (if any). Below the header, each section of the form is listed with its progress (e.g. 0/40) and a yellow Start button.
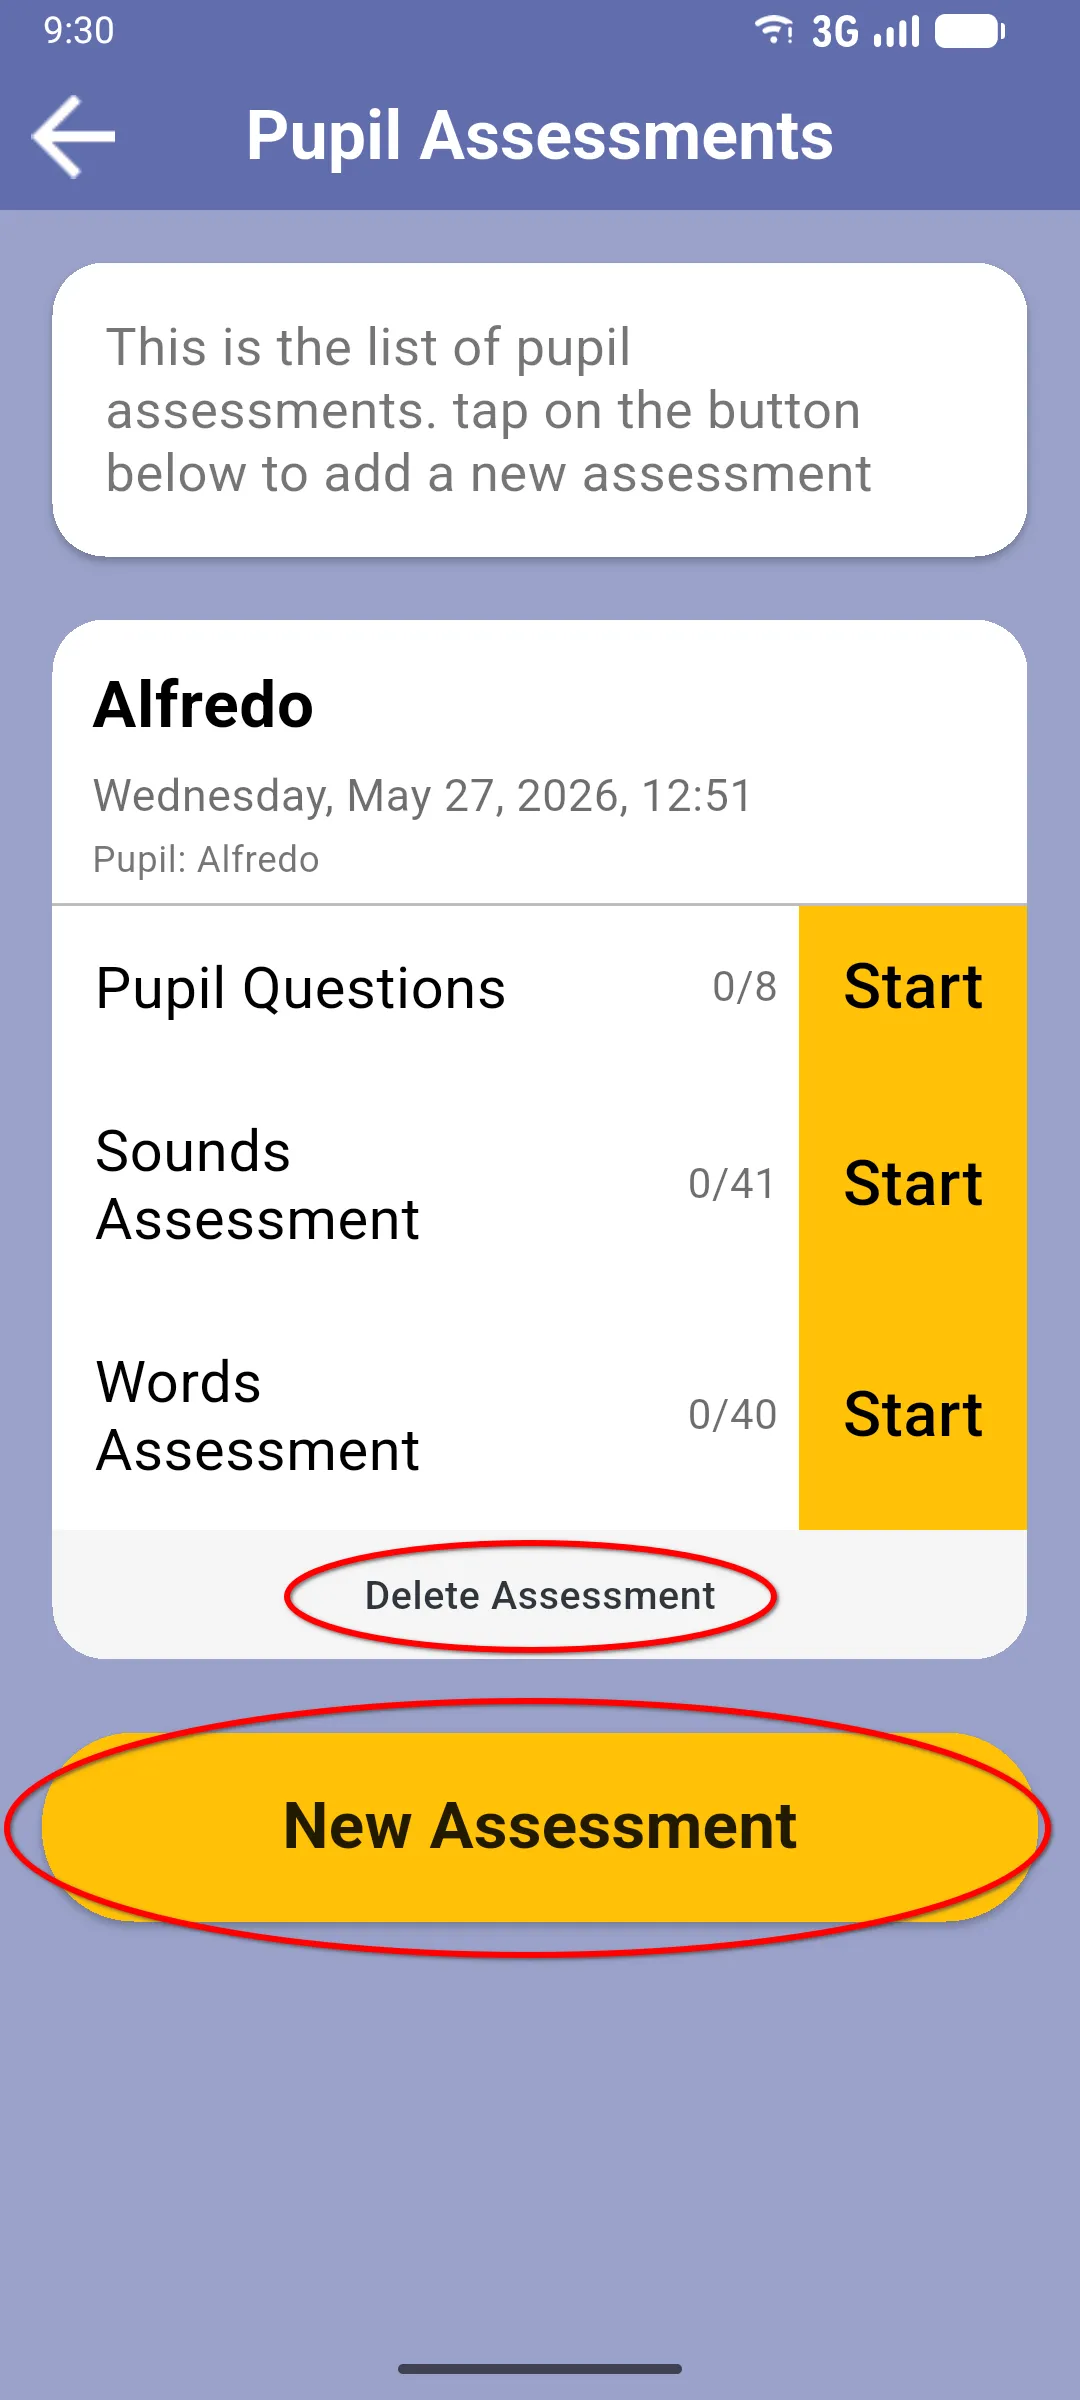
Scroll the screen down past the card to find a second New Assessment button at the bottom: tap it to add another pupil assessment using the exact same flow as the one you just finished. The Delete Assessment text at the very bottom of each card is there in case you need to remove that specific assessment.
Next: Pupil questions