Creating a school visit
1. Tap Start New Visit
Section titled “1. Tap Start New Visit”From the district detail screen, tap the yellow Start New Visit button at the top.
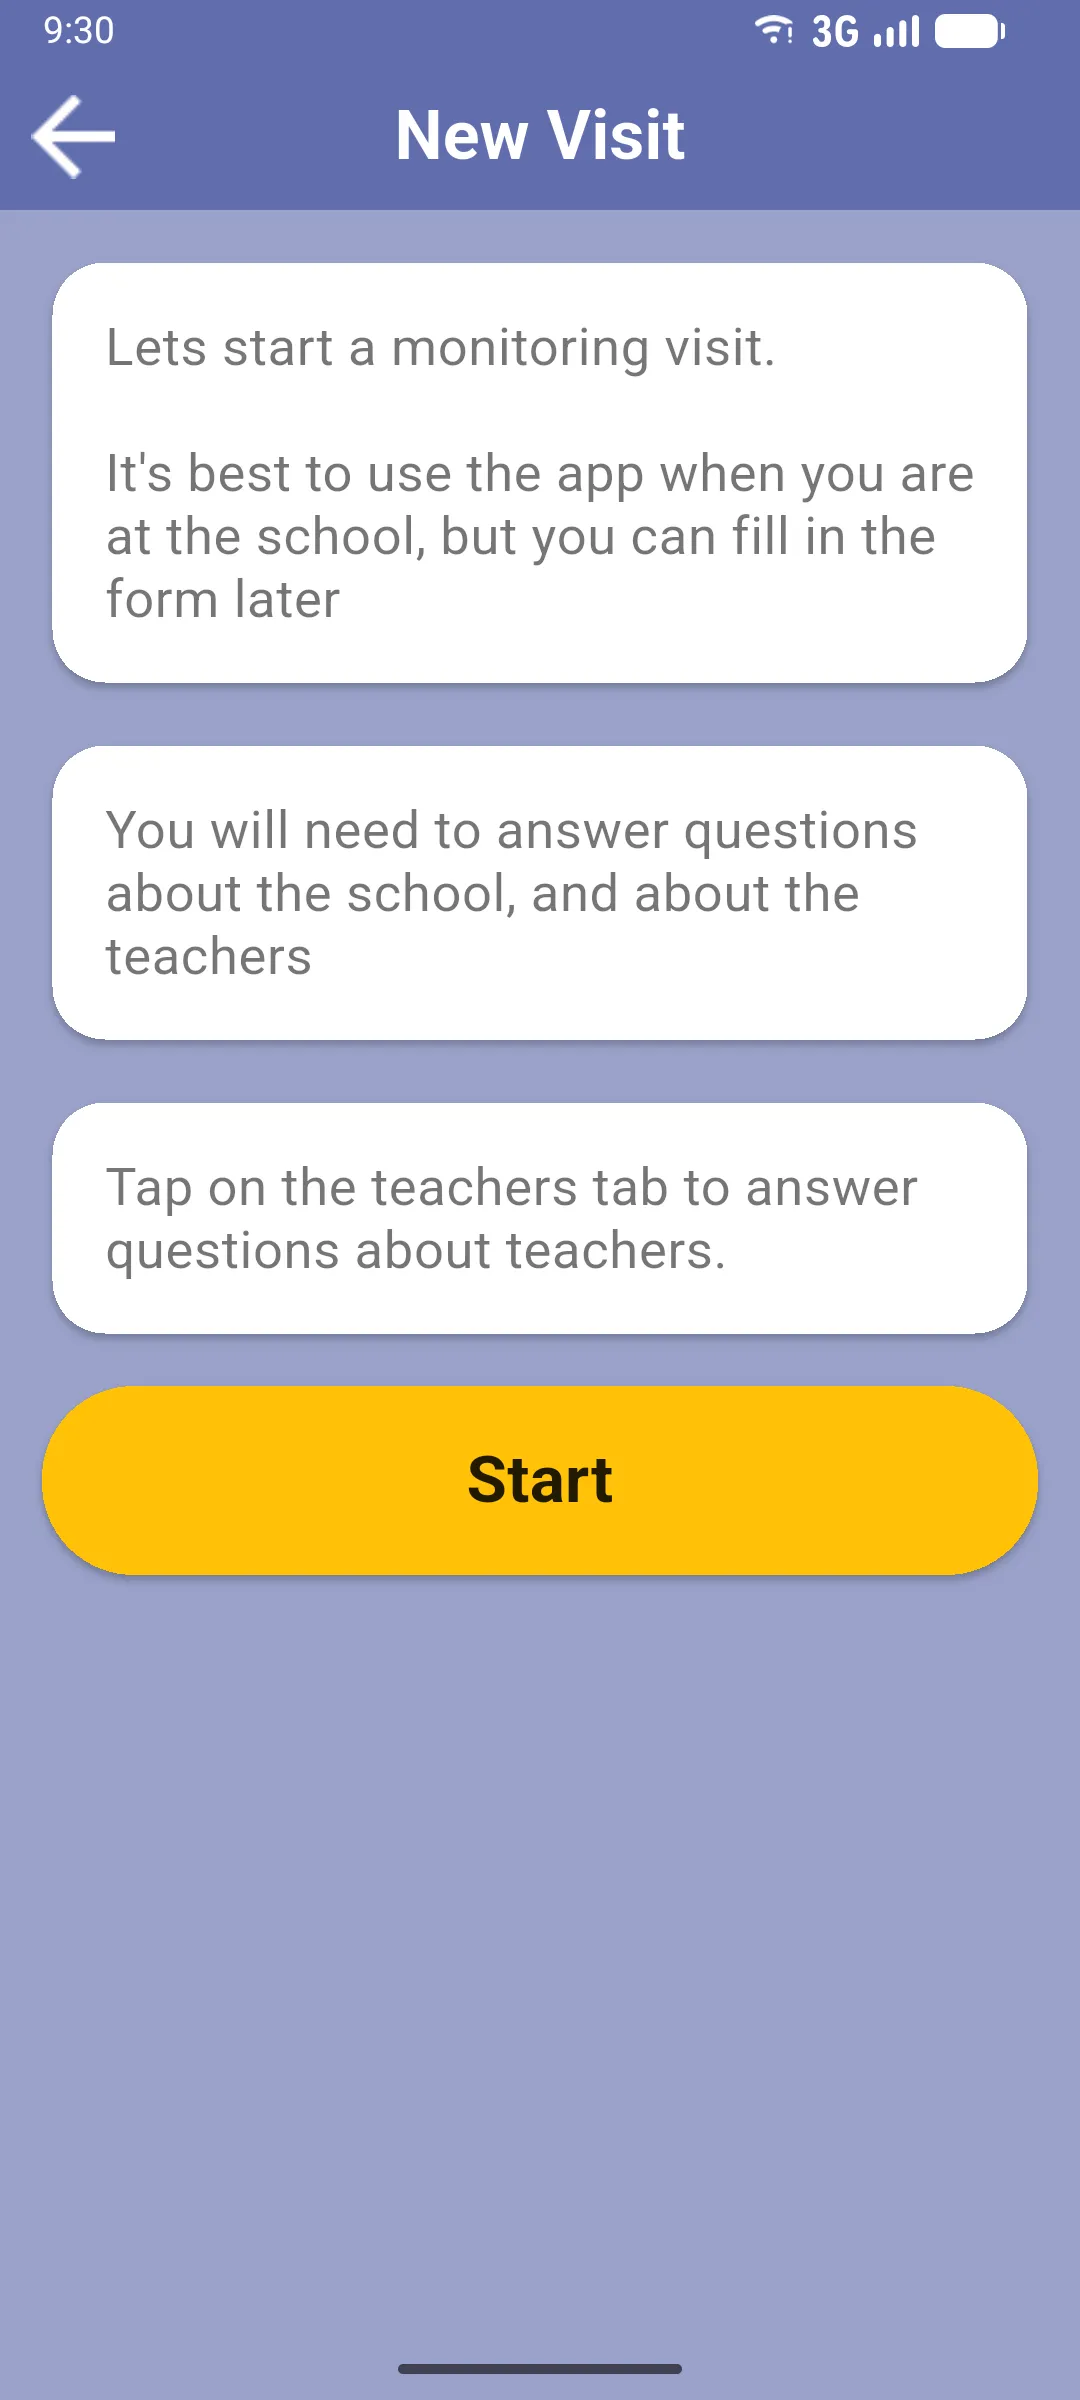
The intro screen explains the steps. Tap Start New Visit at the bottom to begin.
2. Present Now: are you at the school?
Section titled “2. Present Now: are you at the school?”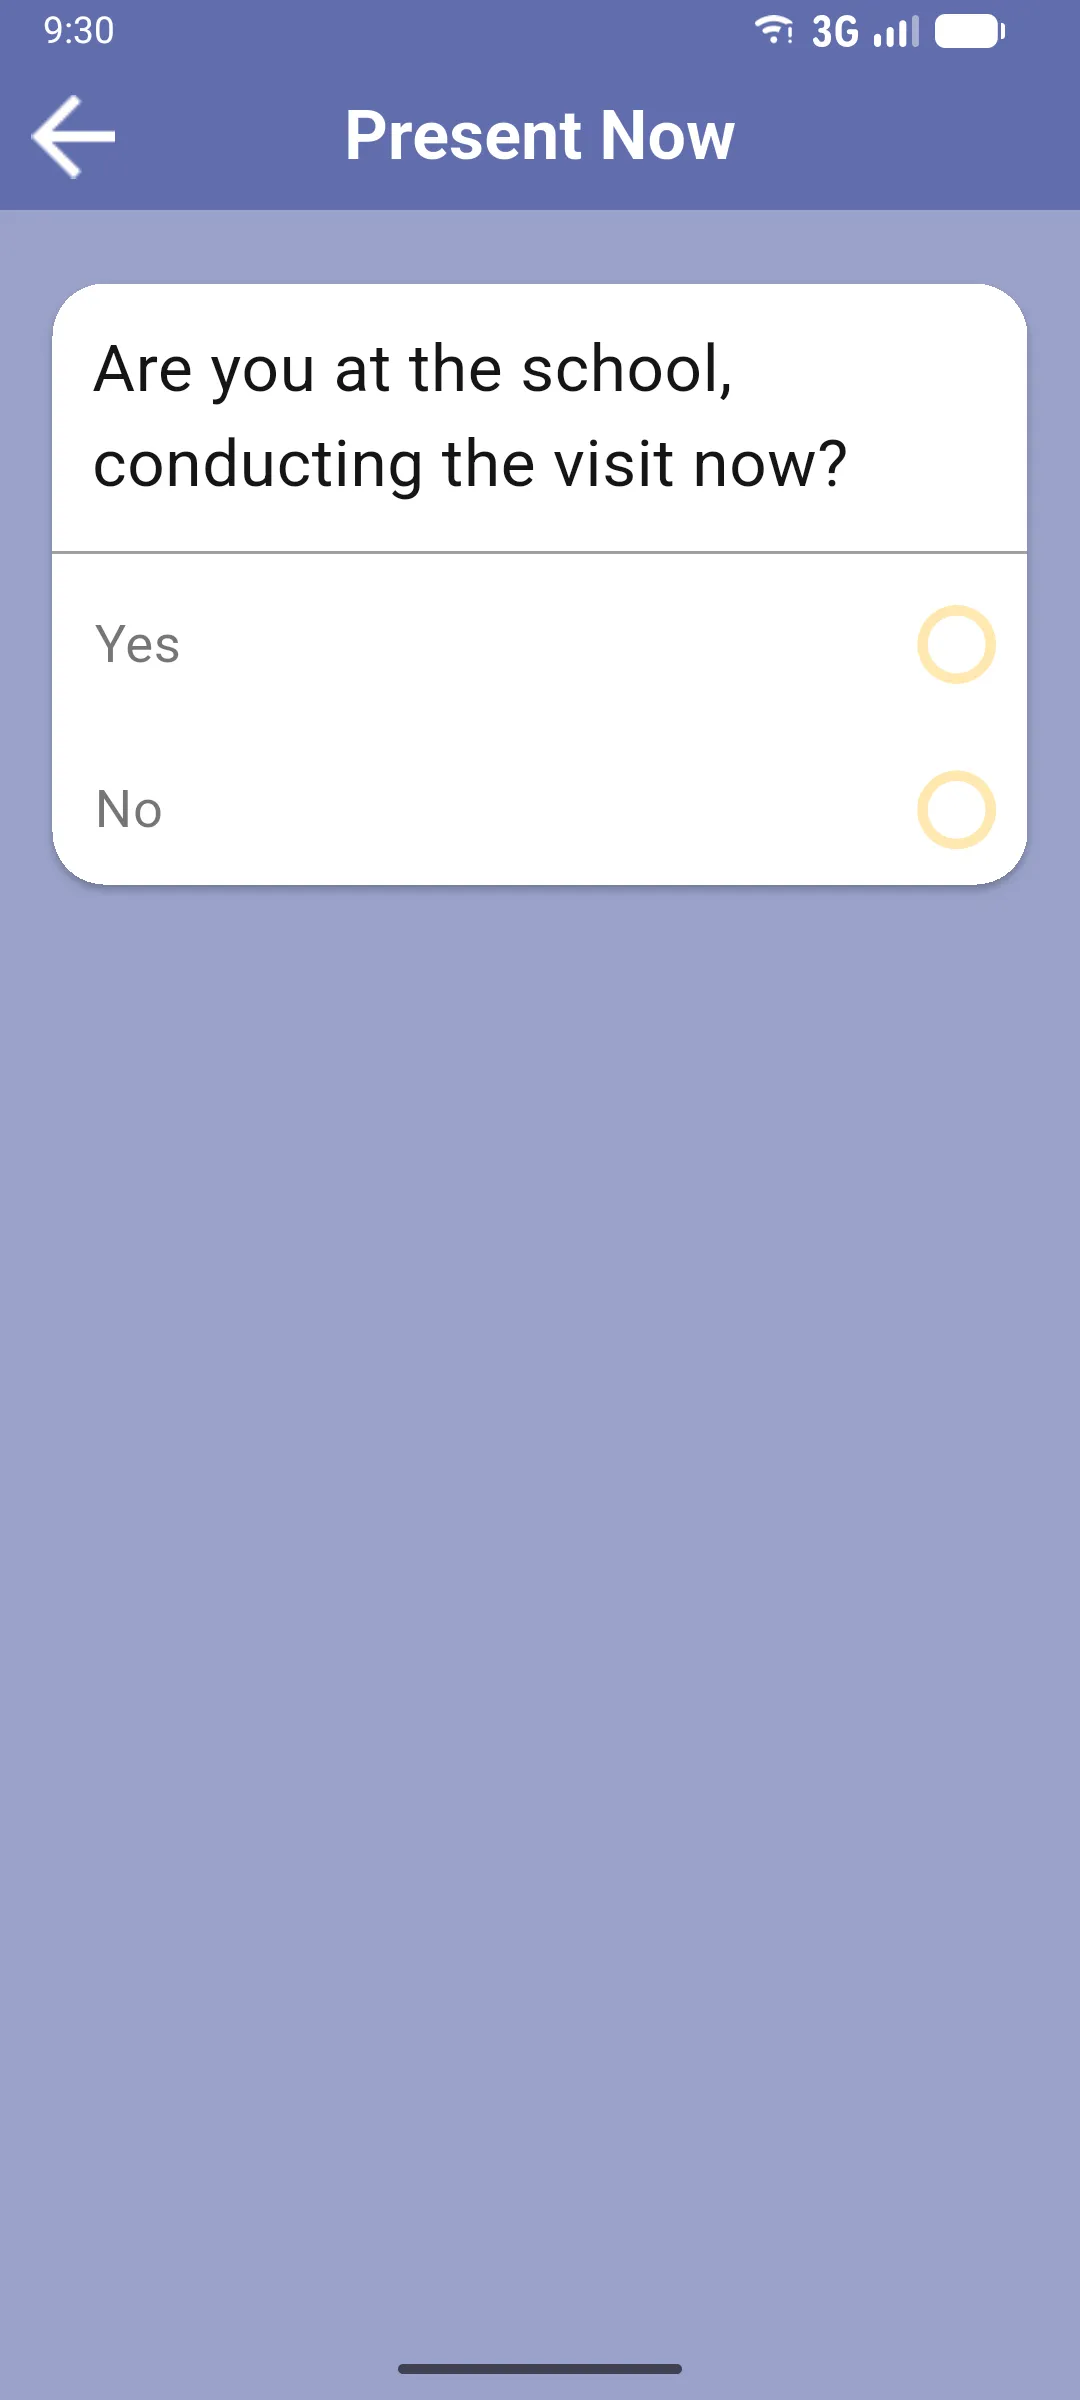
The Present Now screen asks Are you at the school, conducting the visit now?. The answer splits the flow into two:
- Yes (the normal case): the app records your current GPS coordinates (which are saved on the visit, not used to pick the school) and continues. You still pick the school manually in the next step.
- No: switches to the paper-visit flow, where you pick the visit author (yourself or another monitor) and the date the visit actually took place. Use this when you’re entering a visit that was already done on paper at another time or place.
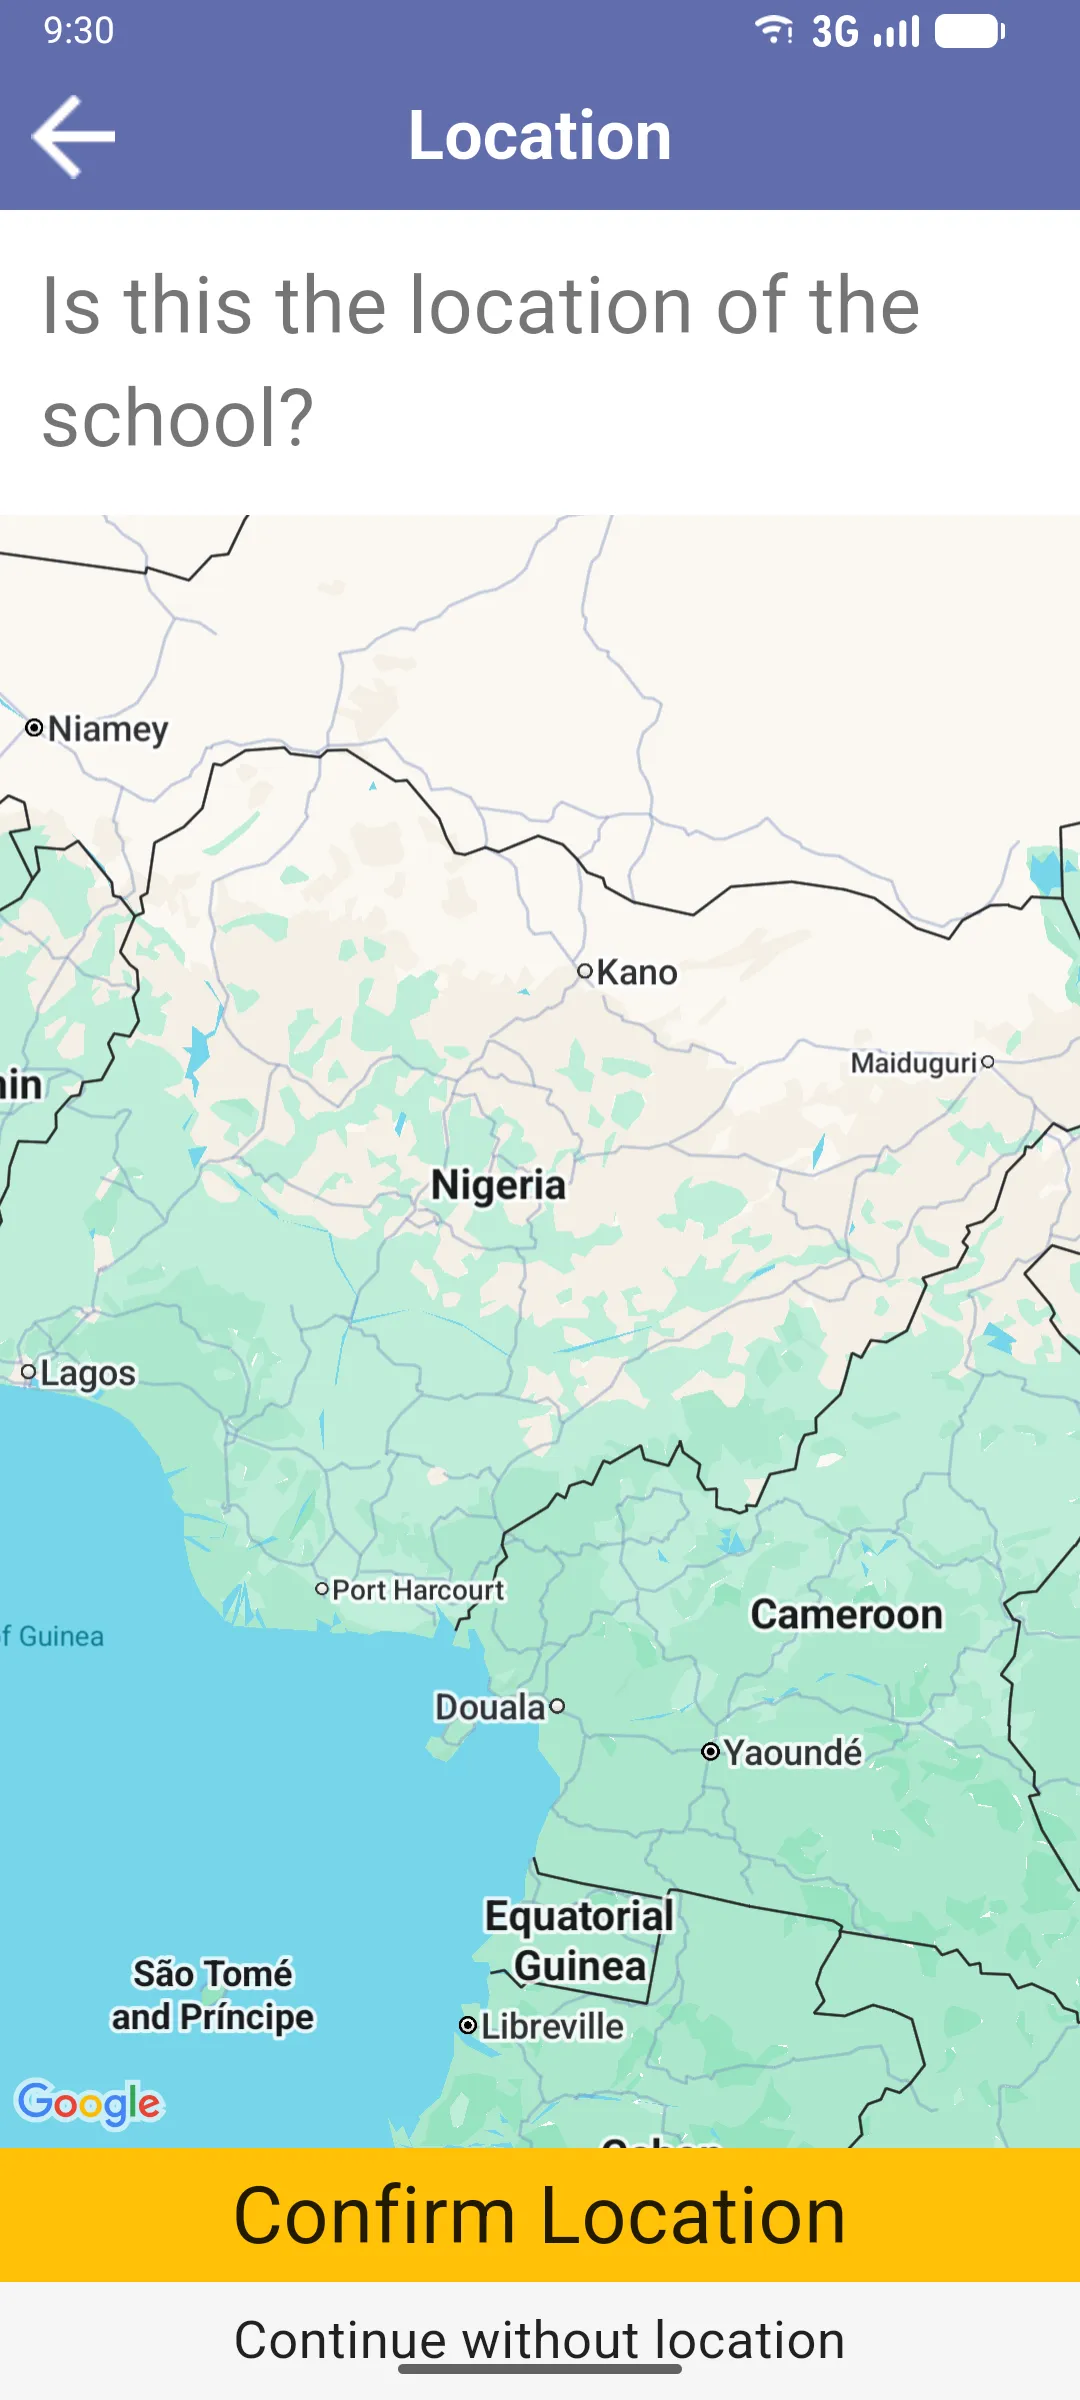
If you picked Yes but GPS isn’t available, tap Continue without location on the screen that follows.
3. Find the school
Section titled “3. Find the school”Tap the school you’re visiting. A confirmation dialog appears with the school name; tap Confirm.
![Find School screen showing 'Schools in [district]', an info bubble warning not to create duplicates, and the alphabetical list of schools with the head teacher under each name](/_astro/find-school.C71LBj1C_Z19FlQs.webp)
If the school you need isn’t in the list, scroll to the bottom and tap New School. The app first asks you to confirm (Please make sure the school is not already on the list above), then to type the school name (at least three characters). The new school is added to the district, queued for the next sync, and selected for this visit.
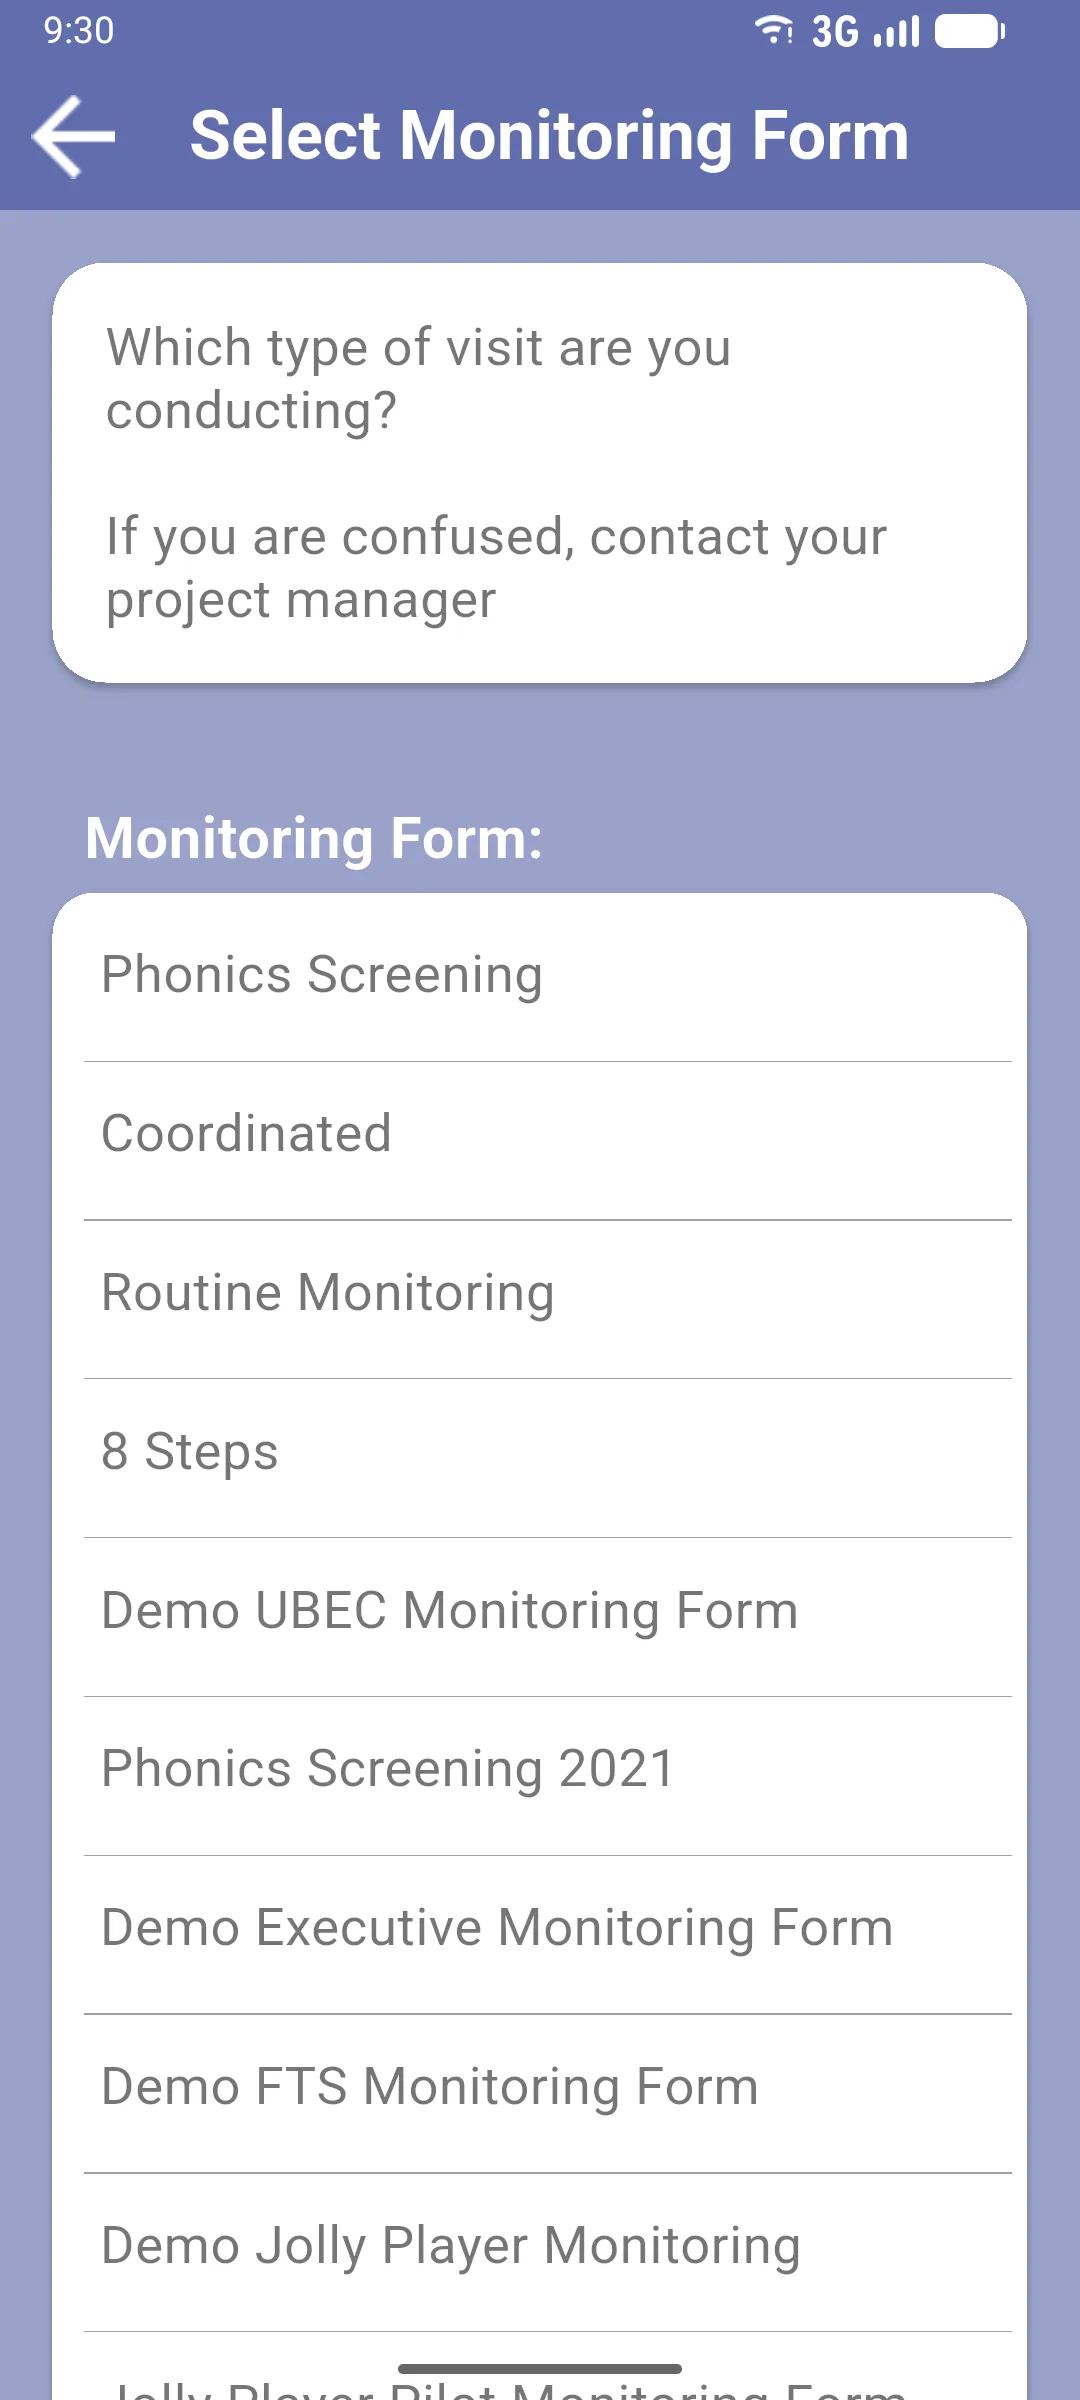
4. Select the monitoring form
Section titled “4. Select the monitoring form”Tap the form you want to use. A second confirmation appears: tap Confirm to create the visit and land on the School Visit screen.
Next: Conducting a school visit