Conducting a teacher visit
After picking Start Monitoring, the class and the monitoring type, the teacher card expands with a monitoring sub-card. The top of the sub-card shows the monitoring type and the class, and below it the sections to fill for that teacher.
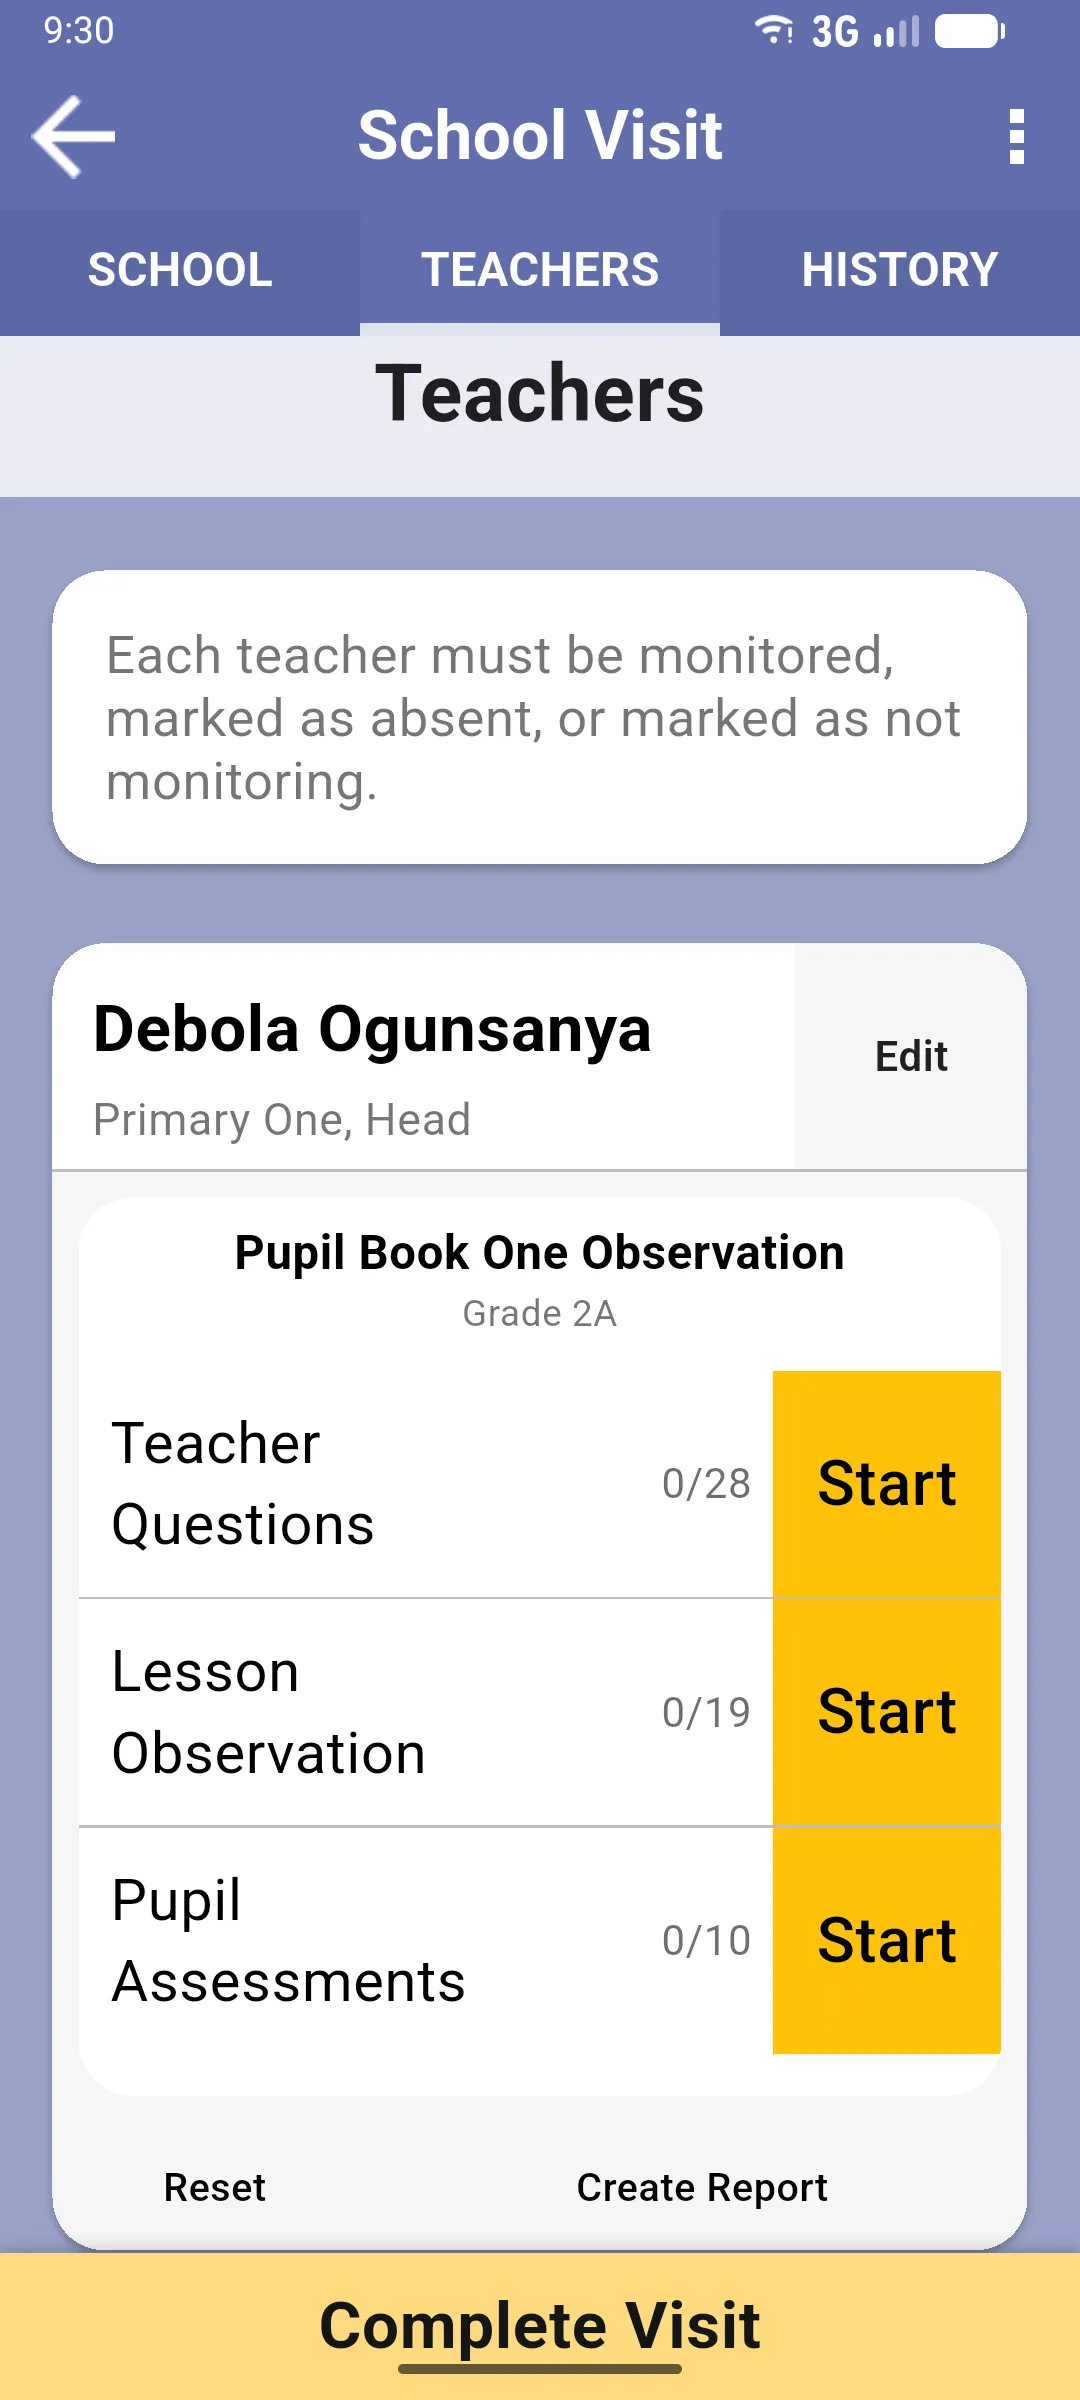
Sections
Section titled “Sections”Each section shows the progress (X/Y) and a button. The label depends on progress:
- Start (yellow): nothing answered yet.
- Finish (yellow): some answered, some pending.
- Review (green): all answered. The section row turns green when complete.
The three possible sections are:
- Teacher Questions: the questions about the teacher (background, experience, etc.). Always present.
- Lesson Observation: the observation grid filled while the teacher teaches. Only appears if the form has observation questions.
- Pupil Assessments: the individual assessments you run on the pupils in the class. Only appears if the form includes pupil assessments. Tapping Start here opens a separate flow covered in the Pupil Assessments section.
Tap any section’s button to open its questions. When you come back, the count updates and the colour changes.
At the bottom of the teacher card, Reset clears the monitoring sub-card and the teacher’s three options reappear so you can pick again. If you had already answered anything, the app first asks for confirmation before deleting.
Use Reset if you picked the wrong class, the wrong monitoring type, or want to switch the teacher to Teacher is Absent or Not Monitoring.
Create Report
Section titled “Create Report”Next to Reset, Create Report opens the report generator for this teacher’s monitoring, then the device share sheet to send it. See Creating a report for what the report includes.
When the teacher visit is done
Section titled “When the teacher visit is done”You don’t need to do anything extra: when all three sections are complete, the sub-card turns green. Move on to the next teacher, or tap Complete Visit at the bottom of the screen when every teacher has a status set.
Next: Completing a visit